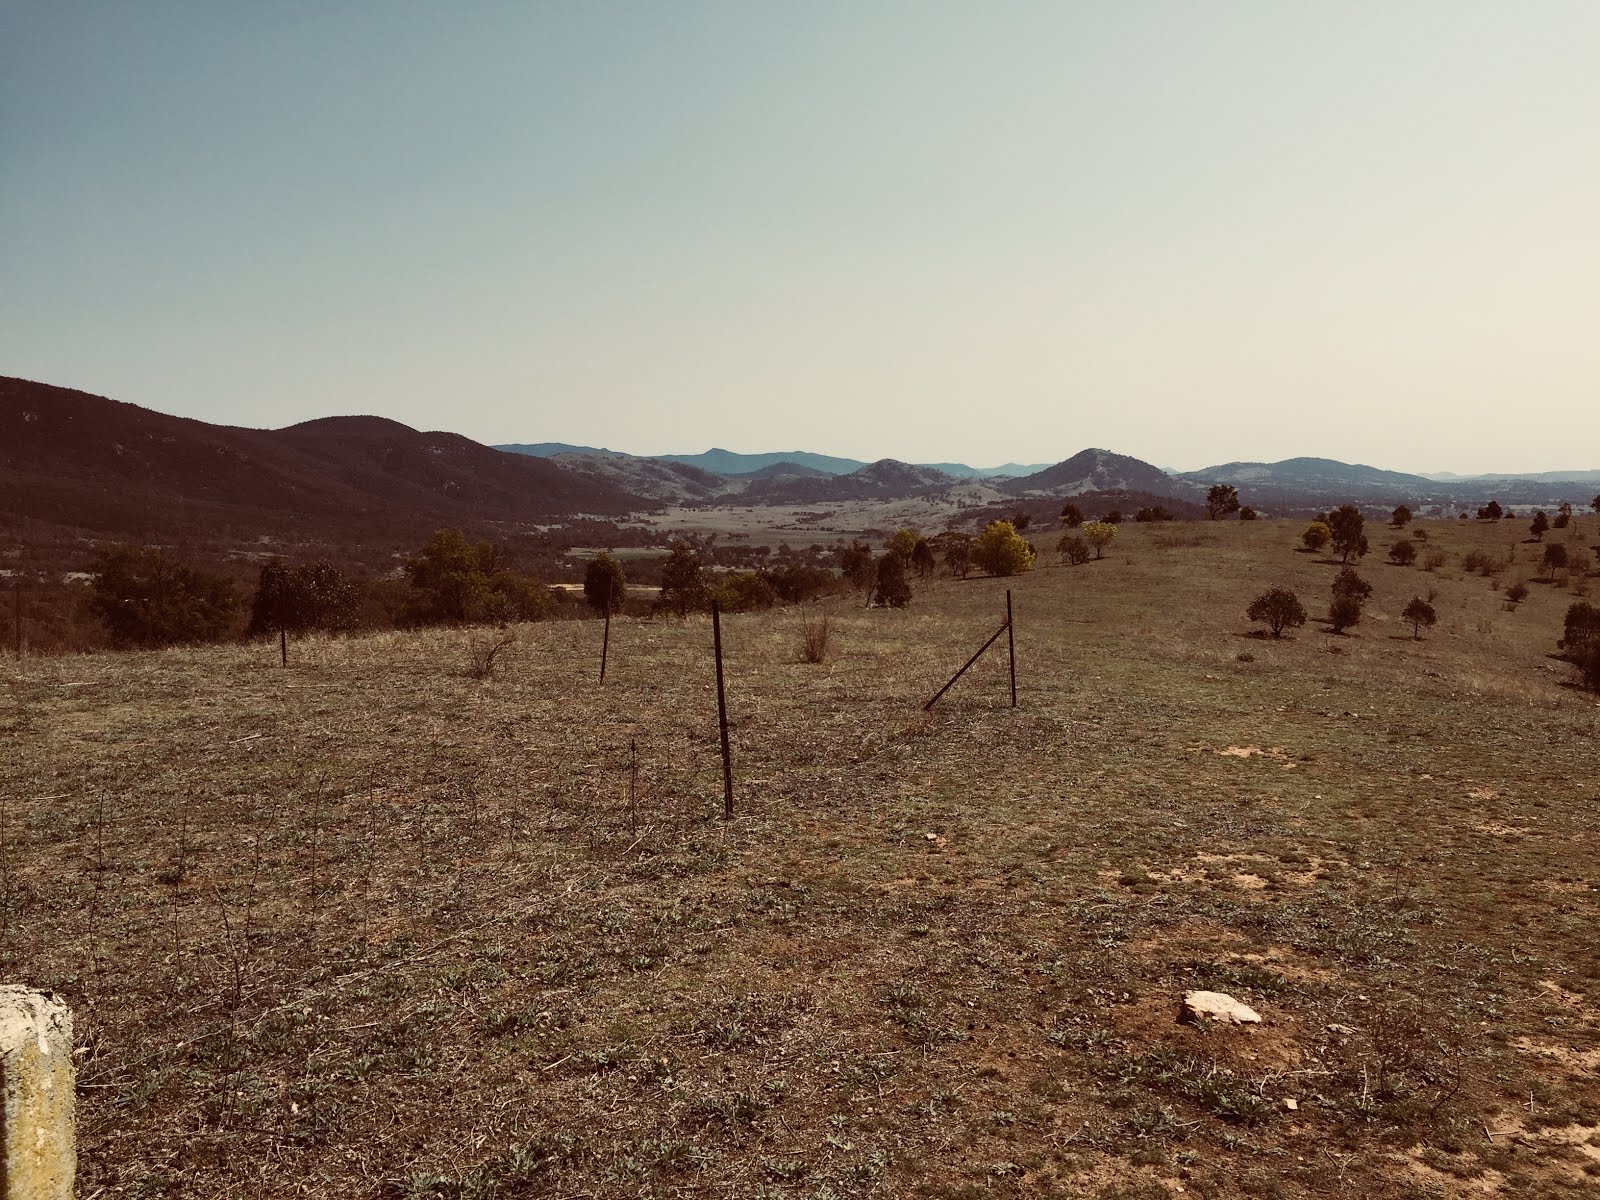
Friday, 14 September 2018

Yanununbeyan State Conservation Area: Spring Creek Gorge

General Information


Distance:   10.6 kilometers
Total climb:   478 meters
Time taken:   4 hours  40 minutes
Maps:   Captains Flat 8726-1N 1:25 000
Source:  http://www.johnevans.id.au/wp/19-april-2018-queanbeyan-river-and-spring-creek-gorge/
Start point distance by road from Canberra GPO:   50 kilometers
Start point map grid reference:  55H GA 13034 63448
Destination map grid reference:  Corner Hill 55H GA 12316 63828
                                                    Queanbeyan River 55H GA 12436 62396
                                                    Spring Creek Gorge 55H GA 12805 60486
End point:  same as start

Route


http://maps.six.nsw.gov.au/


Description


This walk commenced at the day use area carpark off Woolcara Lane about 14 kilometers south of Captains Flat Road. We started off by heading west towards some very thick scrub which we were obliged to go around to the left. Having cleared the scrub we veered northwest and started our climb up a ridge to the summit of Corner Hill.


Near the summit a quite indistinct track (Corner Hill Fire Trail) can be found leading down the hill to the south.


We followed this for about 800 meters before heading bush again towards a series of pools along the Queanbeyan River. Unfortunately the place where we approached the river was particularly steep, and although we were able to scramble down we could have made it easier on ourselves if we had gone down a much gentler ridge slightly to the east.


Where we met the river, however, was a particularly picturesque spot that we would probably not otherwise have seen.


We tried to follow the river upstream, but finding too many obstacles in our way we decided to gradually climb above the river, at first in an easterly direction and then south. This was not an easy part of the walk either, with prickly scrub to avoid and numerous deep gullies to climb down and then back out of. Eventually we found the spot where Spring Creek meets the Queanbeyan River.

The Spring Creek gorge is just 100 meters or so above the river.


We climbed out of Spring Creek to the south and immediately veered east before heading north towards the ridge that parallels Woolcara Lane. We followed the ridge north and then linked up with Woolcara Lane, which we followed for the last 2 kilometers to the carpark.  

Wednesday, 5 September 2018

Gigerline Nature Reserve: An Exploratory Wander

General Information


Distance:   9.4 kilometers
Total climb:   384 meters
Time taken:   3 hours  30 minutes
Maps:   Williamsdale 8726-4N 1:25 000
Guide:  n/a
Start point distance by road from Canberra GPO:   36 kilometers
Start point map grid reference:  55H FA 88439 66291
Destination map grid reference:  55H FA 89277 64520
End point:  same as start

Route


http://maps.six.nsw.gov.au/

Description


This was an exploratory hike in an area my fellow hiker and I had not been before. We did not have a particular route or destination in mind, so the destination point specified above is really just the most prominent feature we came to.

Starting from the Tharwa Sandwash carpark we followed the Murrumbidgee River upstream for about 700 meters before crossing a dry creek at map reference 55H FA 89118 65976. From there we started up a ridge paralleling the river, which gave us a nice aspect downriver towards Tharwa in one direction and to the distant Tinderry Range in the other.


Not far up this ridge we came to the first of many annoying barbed wire fences that still criss-cross the Nature Reserve. Having wormed our way under a gap in this particular fence we continued in a generally southern direction and gaining elevation as we went. Eventually we saw the unnamed hilltop at map reference 55H FA 89277 64520, and decided to make towards it, believing that it would help us orient ourselves and look for more places of interest. This proved to be an excellent decision, with the hilltop affording views all around.


From the hilltop we decided to head back towards the Murrumbidgee heading down the hill to link up with a track we could see below us to the east. We followed this track around, hoping to find a side-track off to the left that would take us to the river (as marked on the map retrieved from http://maps.six.nsw.gov.au/). We never did find this side-track, so it must have been obscured over time. This left us with the job of descending a steep slope through relatively thick scrub to get to the river, but we made it quite easily in the end and found a very nice spot for lunch.


After lunch we climbed out way back from the river and soon after reacquired our outbound trail which we followed back to the carpark.

Tuesday, 4 September 2018

Rob Roy Nature Reserve: Mt Rob Roy

General Information


Distance:   14.1 kilometers
Total climb:   775 meters
Time taken:   3 hours  40 minutes
Maps:   Tuggeranong 8727-3S 1:25 000
Guide:  n/a
Start point distance by road from Canberra GPO:   26 kilometers
Start point map grid reference:  55H FA 92172 74091
Destination map grid reference:  55H FA 93088 69956
End point:  same as start

Route

http://maps.six.nsw.gov.au/

Description


The hike started from a carpark across the road from 18 Callister Crescent, Theodore. Initially I was part of a large walking group headed for the hill overlooking the Royalla solar farm, but I intended to go further and climb Mt Rob Roy after the group turned back. Unfortunately it was a dark and dreary day with light rainfall threatening most of the time.

We started from the carpark and followed the track east until we came to an intersection with a gate which could be climbed through. We then followed the track south around Callaghan Hill until we came to another gate at map reference 55H FA 93408 72472. We followed the fence line south and eventually arrived at a hill (map reference 55H FA 93608 71823) which gave us our view of the solar farm. Here I left the group and made for the long ridge heading up to the Rob Roy Range. This was through lightly forested ground, mostly clear of annoying undergrowth although a bit rocky in parts. There were some early wildflowers in bloom in the more sheltered spots. There were some views to the east on the way up the ridge.


At the top of the ridge I struck the vehicular track heading towards Mt Rob Roy until I found the walking track to the summit, marked by a small stone cairn on the side of the vehicular track. 


The summit was only a few hundred meters from that point. While the summit is clear and rocky, tree growth all around the crown meant that views were limited, particularly in the gloomy conditions.


After a light lunch on the summit I headed back towards the carpark via the vehicular track. This was very steep in a number of places and with a sandy surface could be quite treacherous. Luckily I managed to keep my footing. When I got back to the gate at map reference 55H FA 93408 72472 I left the vehicular track and walked down a dry gully to eventually find the vehicular track again further down. From here I retraced my steps back to the carpark.

Sunday, 22 July 2018

Namadgi National Park: Yankee Hat Climb

General Information


Distance:   9.5 kilometers
Total climb:   510 meters
Time taken:   6 hours  20 minutes
Maps:   Yaouk 8626-2N 1:25 000
Guide:  n/a
Start point distance by road from Canberra GPO:   67 kilometers
Start point map grid reference:  55H FA 78464 41158
Destination map grid reference:  55H FA 75628 42419
End point:  same as start

Route


http://maps.six.nsw.gov.au/

Description


We arrived at the Yankee Hat Carpark just after 8am with the external thermometer in my car reading -7 degrees. The sun was shining and there was no wind, however, so it did not feel all that cold even with the heavy frost. We started walking at 8:18am and followed the Yankee Hat Walking Trail to its end at the Yankee Hat rock art site. From here we headed bush to climb Yankee Hat which loomed 380 meters above us.

We initially headed southwest through fairly light scrub and gradually veered to the northwest in order to reach the spur running up to the summit from the southeast. Before long we started to encounter a dusting of fresh snow (probably from two days before) which became thicker and a tiny bit slippery as we continued to climb.


The going was quite easy all the way up with relatively light scrub, few fallen trees and rocks which were easy to get around or climb over. There were occasional views to the north and south as we passed through the scrub, becoming more open as we neared the summit.


Having reached 1400 meters elevation the terrain flattened out and we continued heading northwest through a tangle of scrub and rocks, making for the summit of Yankee Hat.


The summit is a large rock outcrop that was relatively easy to climb up from the southwest. Here we paused for lunch taking in the views to the east and west.


Not wishing to backtrack, we had planned to get down the mountain via the spur on the northwestern side. We found the scrub and terrain a bit more challenging on this side of the mountain, however, so our route down became northeasterly as we tried to avoid patches dense scrub, large rock outcrops and very steep descents. Eventually we reached the Middle Creek Fire Trail and followed it east to just before the ford over Middle Creek. From there we headed overland to the bridge over Bogong Creek and thence back to the carpark.

Friday, 13 July 2018

Namadgi National Park: Yankee Hat and Rendezvous Creek Rock Art

General Information


Distance:   17.4 kilometers
Total climb:   482 meters
Time taken:   3 hours  56 minutes
Maps:   Yaouk 8626-2N 1:25 000; Rendezvous Creek 8626-1S 1:25 000
Guide:  n/a
Start point distance by road from Canberra GPO:   67 kilometers
Start point map grid reference:  55H FA 78464 41158
Destination map grid reference:  55H FA 76643 41956 (Yankee Hat Rock Art)
End point:  same as start

Route


http://maps.six.nsw.gov.au/

Description


This walk started at the Yankee Hat Carpark at the locked gate on Old Boboyan Road. I started walking at 9:10am with a freezing southerly wind making me smug that I had brought along my woollen beanie and gloves. I followed the Yankee Hat Walking Trail to its end at the Yankee Hat rock art site.


After a warming cup of coffee I headed north to link up with the Middle Creek Link fire trail. For some reason most of the fire trails in this area are not marked on the printed maps, but can be found on the SIX Maps versions (http://maps.six.nsw.gov.au/). This trail led me to Middle Creek where I was lucky enough to find a pig trail leading to a place where I could cross the Creek with a bit of a leap. On the northern side of Middle Creek I kept to grassy terrain skirting the tree line with good views back to Yankee Hat.


Passing over the ridge I found protection from the freezing southerly wind, although I started to find patches of snow in shady areas. Elevated views of the Rendezvous Creek valley started to open up.


Continuing to follow the tree line I started to head northwest towards the Rendezvous Creek rock art site. About 400 meters from the site I started ploughing through the trees and scrub to reach my destination by about 11:30am.


Pausing again for another cup of coffee, I headed back down the hill to link up with the Rendezvous Creek Trail which I followed down to the Rendezvous Link Trail. At the crest of the Rendezvous Link Trail I paused for lunch in a picturesque spot which was unfortunately also exposed to that wicked southerly.


I crossed back over Middle Creek via the ford on the Rendezvous Link Trail and cut across to the Yankee Hat trail near the bridge over Bogong Creek. From there it was a short walk back to the car.

Saturday, 26 May 2018

Namadgi National Park: Blue Gum Hill

General Information


Distance:   13.7 kilometers
Total climb:   536 meters
Time taken:   6 hours  50 minutes
Map:   Corin Dam 8626-1N 1:25 000
Guide:  n/a
Start point distance by road from Canberra GPO:   52 kilometers
Start point map grid reference:  55H FA 73676 67772
Destination map grid reference:  55H FA 78527 64994 (not reached)
End point:  same as start

Route


http://maps.six.nsw.gov.au/

Description


We started this walk at the Square Rock Carpark just off Corin Road. We walked up Smokers Trail South to Smokers Trail which we followed until it turned west at map reference 55H FA 75124 65892. At this point we headed bush.

Initially walking up towards the hill at map reference 55H FA 75153 64874 we then started down the steep slope through thick scrub to Blue Gum Creek.


This provided some clear terrain to move through for a while, though the tussocky grass, well dug up by wild pigs, presented its own challenges. We then headed for the hill marked 1412 meters on the map (reference 55H FA 77362 64572), again crashing through dense scrub and occasionally having to dodge large rock formations and fallen trees. Towards the top we found the large rock shelf shown as a clear area on the map. This was pretty easy to traverse, and we decided to have lunch there with a clear view back to the west.


Still 1.5 kilometers short of Blue Gum Hill, we decided we'd had enough and decided to make our way back. We headed straight down the hill through some very dense scrub and back to Blue Gum Creek, where we had an excellent view back towards the hill we had just descended.


We then set a course to bisect the two peaks at 55H FA 75542 65913 and 55H FA 75734 66588 respectively. This part of the walk wasn't too difficult as we were approaching the climb laterally rather than going straight up. We also found some pig trails which we could follow, and there were other occasional clear patches which made moving easier. Eventually reaching the crest we found our way back to Smokers Trail and returned to the car.

Tuesday, 15 May 2018

Hume and Hovell Walking Track: Micalong Swamp Flora Reserve

General Information


Distance:   14.2 kilometers
Total climb:   110 meters
Time taken:   2 hours 15 minutes
Map:  Bobbys Plains 8627-3N 1:25 000
Guide:  Graeme Barrow, 30 Family Bushwalks in and around Canberra (2002), pp.35-37.
Start point distance by road from Canberra GPO:   90 kilometers (via Brindabella)
Start point map grid reference:  55H FA 39676 937606
Destination map grid reference:  55H FA 37790 88299
End point:  same as start

Note: Much of this walk follows a section of the Hume & Hovell Walking Track.

Route


http://maps.six.nsw.gov.au/

Description

I began this walk on Micalong Road near where it intersects with Brindabella Road, about 28 kilometers west of Brindabella. I followed Micalong Road south along the east side of the Swamp to an intersection at map reference 55H FA 39482 92757 (it's possible to shorten the walk by about 2 kilometers by driving to this point instead of walking). I then followed the side track to the right which led me to a boardwalk crossing to the other side of the Swamp.


On the other side of the Swamp I continued south along management trails which were muddy and sometimes covered by large puddles.


The views across the Swamp were very pleasant though. At one point there was even some residual snow from falls the week before.


The trail eventually led to another boardwalk crossing, this time of Chinamans Creek, a tributary of Micalong Creek.


Continuing on to the southern end of the Swamp I turned north to make my way back to the car.

Saturday, 7 April 2018

Morton National Park: Fitzroy Falls East Rim Walking Track

General Information


Distance:   6.2 kilometers
Total climb:  unknown
Time taken:   1 hour 30 minutes
Map:  Bundanoon 8928-1S 1:25 000
Guide:  n/a
Start point distance by road from Canberra GPO:   177 kilometers
Start point map grid reference:  56H KG 69323 63238
Destination map grid reference:  56H KG 69272 61148
End point:  same as start

Route


http://maps.six.nsw.gov.au/

Description

This walk starts at the Fitzroy Falls Visitor Centre and follows a well maintained walking track along the eastern escarpment of the Yurrunga Creek valley. There are numerous lookouts along the track with views across the valley and sometimes back towards Fitzroy Falls.


Tuesday, 20 March 2018

Bungonia State Conservation Area: Tolwong Chimneys

General Information


Distance:   11 kilometers
Total climb:   450 meters
Time taken:   4 hours  40 minutes
Map:  Caoura 8928-3N 1:25 000
Guide:  Graeme Barrow, 30 Family Bushwalks in and around Canberra (2002), pp. 45-48.
Start point distance by road from Canberra GPO:  125 kilometers
Start point map grid reference:  56HKG 27183 41382
Destination map grid reference:  56HKG 29556 41373
End point:  same as start

Route


http://maps.six.nsw.gov.au/

Description

The start of the walk is not easy to find. From Bungonia village, head roughly northeast along Lookdown Road for about 6.2 kilometers and there is a rough track off to the side known as Carne Road (map reference 56HKG 24971 42119). Turn into Carne Road and follow it for about 1.7 kilometers where it becomes the Trestles Track - the map shows a locked gate here, but this must have been removed. About 1.1 kilometers past this point there is a locked gate and a parking area. This is the start of the walk.

We first followed the Trestles Track east for about 2 kilometers until the wide track ends at a walking trail down to the Shoalhaven River. At this point we saw the first relics of the flying fox that was used to transport materials over the Shoalhaven to the Tolwong Mine.


After pausing here for a break, we started down the walking track which is named on the map as "Blue Walking Track" in true Bungonia fashion. This is a very steep track, descending over 340 meters in 1.4 kilometers. Along the track we got our first glimpse of the distant chimneys across the river.


At the base of the walking track there is a marker post, and walkers are advised to take notice of its location as it can be hard to find for the return journey. Having reached the Shoalhaven we looked in vain for a suitable crossing place to the Mine site. Recent rain made it too deep to safely and comfortably cross. We were satisfied with the view of the Mine across the river, and enjoyed just sitting by the river.


Making our way back to the marker at the bottom of the walking track we started the long and exhausting climb back up to the Trestles Track. From there the going became easier again, even though it was mostly uphill back to the carpark.