Showing posts with label return same way. Show all posts

Friday, 13 February 2026

Namadgi National Park: Honeysuckle Creek Campground to Booroomba Rocks

General Information

Grading : medium
Distance:  11.5 kilometers 
Total climb:  375 meters
Time taken:  3 hours 30 minutes
Moving Time:  2 hours 35 minutes
Map:  Corin Dam 8626-1N, 1:25 000 
Start point distance by road from Canberra GPO:  53 kilometers 
Start point map grid reference:  55H FA 79143 60486
Destination map grid reference:  55H FA 81967 62279
End point:  same as start
Dates walked: 21 April 2022, 13 February 2026 

Route


Description

This walk was almost identical to one I completed back in 2022. Details can be viewed through the link here.

Saturday, 3 January 2026

Blue Mountains: Leura Cascades to Echo Point

General Information

Grading:  easy
Distance:   6.4 kilometers
Total climb:   225 meters
Time taken:   2 hours 5 minutes
Moving time: 1 hour 40 minutes
Maps:   Katoomba 8930-1S 1:25 000
Start point distance by road from Canberra GPO:   328 kilometers
Start point map grid reference: 56H KH 52005 65718
Destination map grid reference:  56H KH 51020 64250
Dates walked: 3 January 2026
 

Route


Description

This was more of a tourist stroll than a bushwalk, but worth reporting nonetheless.

The walk started at the Leura Cascades car park off Cliff Drive, from which point we followed the well-maintained walking track towards Echo Point.


  There were occasional views back towards Leura and Sublime Point.

Eventually we made it to The Three Sisters and Echo Point, where the crowds were crazy but did not prevent us from taking a few pictures of the sights.


 We returned the same way to our starting point.

Friday, 31 October 2025

Murrumbidgee River Corridor: Casuarina Sands to Knoll Lookout

General Information

Grading:  medium
Distance:   14.9 kilometers
Total climb:   451 meters
Time taken:   4 hours 30 minutes
Moving time:  3 hours 15 minutes
Maps:   Cotter Dam 8627-2N 1:25 000
Start point distance by road from Canberra GPO:   22 kilometers
Start/end point map grid reference:  55H FA 77526 89718
Destination map grid reference:  55H FA 79969 84636
Dates walked: 31 October 2025 
 

Route


Description

This walk starts at the western end of the Casuarina Sands carpark and follows the Casuarina Sands to Kambah Pool section of the Murrumbidgee River Corridor track. For my part I was largely doing this walk to complete the last untrod section of the River north of Point Hut Crossing.

The trail begins at the end of the carpark and soon passes under the road bridge and heads south. Initially it is quite flat, following an alignment about 100-150 metres from the River. It then trends further away from the River, providing only limited views through the trees.


At two points along the track it deviates into private property over fences via stiles, with warning signs to stay on the track and not interfere with livestock. Not a difficult request, but we were bemused as to why these sections of track (which in some places followed the fenceline) were not constructed in the Reserve.

There are quite a few creeks to cross along the way, some of them bridged (the bridge over Bulgar Creek being particularly impressive, and as it turned out, a good place to have lunch) and others with steep steps down and back up again.


Just before our destination, the track veers left and through the fenceline once more. From here we could see Knoll Lookout in front of us.


 We climbed up to the lookout, which features elevated views of the Murrumbidgee in both directions.


We returned to our starting point by much the same route, stopping at Bulgar Creek for lunch.

Friday, 24 October 2025

Namadgi National Park: Horse Gully Hut

General Information

 
Grading: Medium
Distance: 17.6 kilometers
Total climb: 517 meters
Time taken: 4 hours 25 minutes
Moving time: 3 hours 35 minutes 
Map:  Colinton 8726-3N 1:25 000
Start point distance by road from Canberra GPO:  80 kilometers
Start point map grid reference:  55H FA 81464 29033
Destination map grid reference:  55H FA 86626 33637
Dates walked: 2 September 2015, 24 October 2025

Route


Description

 
This walk starts at the Mount Clear Campground, just off Boboyan Road in the far south of the Australian Capital Territory. The walking trail follows management trails through the Naas Valley which are part of the Bicentennial National Trail. There are a number of points of interest along the track that are marked with numbered posts (there is a published guide that provides information on these points of interest, so it's a good idea to take it with you).

Leaving the campground the track passes through fairly open terrain, past the Mount Clear horse yards and with occasional glimpses of Naas Creek.


About 2 kilometers into the trail there is a bow in Naas Creek which means that it has to be crossed twice, or walked around. The first time I did this walk the water level was quite high so we decided to walk around the bow rather than try to ford the creek twice. This was quite heavy going through thick grass, and was a bit swampy in places, and we were probably lucky not to encounter any snakes. The second time I did this walk I was able to cross the creek with some deft rock-hopping.

The trail continues through more wooded terrain with a lot of climbing up and down.


About 7 kilometers into the walk the trail goes noticeably downhill with some moderately steep sections down to a grassy clearing and Horse Gully Hut.


The hut itself is a comfortable place to have lunch, with amenities including a table and chairs.

I returned to the Mount Clear camping ground the way I'd come, but on my second walk (October 2025) took a short side-trip along the way to the Demandering Hut ruins. This hut was destroyed in the 2020 bushfires and sadly I never got to see it.


Wednesday, 17 September 2025

Canberra Nature Park: Palmerville and Gold Creek

General Information

Grading:  easy
Distance:   14.6 kilometers
Total climb:   152 meters
Time taken:   2 hours 20 minutes
Moving time: 2 hours 15 minutes
Maps:   Hall 8727-4S 1:25 000
Start point distance by road from Canberra GPO:   10.3 kilometers
Start point map grid reference: 55H FA 87709 99827
Destination map grid reference:    Palmerville 55H FB 89814 01432
                                                       Gold Creek 55H FB 89626 03881
Dates walked: 17 September 2025
 

Route


Description

This walk started at the McDermott Place carpark on Lake Ginninderra, for no other reason than to make the walk as long as possible. From there I headed to Ginninderra Drive, which I followed to the bridge before turning north and following Ginninderra Creek to the Palmerville Heritage Park.


I took a stroll through the Heritage Park and then continued along Ginninderra Creek until the Barton Highway. From there I went through the Gold Creek village area and stopped at one of the excellent cafes there for a rest before heading back to the starting point by much the same route.

Thursday, 14 August 2025

Queanbeyan: Queanbeyan Riverside

General Information

Grading: easy
Distance:  7.3 kilometers

Total climb:  95 metres
Time taken:  1 hour 45 minutes
Map:  Canberra 8727-3N, 1:25 000
Start point distance by road from Canberra GPO:  16.5 kilometers
Start point map grid reference:  55H GA 02027 86724
Destination map grid reference:  none
End point:  same as start

Route


Description

The starting point for this walk is the Queanbeyan Railway Station. We first walked down to the Queanbeyan River railway bridge...


 ...and then on to the Queanbeyan Riverside Cemetery, where we spent some time exploring. From there we followed the river as far as we could before turning back. On the return journey we crossed over the Queanbeyan Suspension Bridge...


...and walked for a short distance along the eastern side of the river before returning back to our starting point by much the same path.

Thursday, 1 August 2024

Hume and Hovell Walking Track: Mt Wee Jasper

General Information

Grading:  hard 
Distance:  15.6 kilometers 
Total climb:  1008 meters 
Time taken:  5 hours
Map:  Couragago 8627-4S, 1:25 000 
Start point distance by road from Canberra GPO:  88 kilometers 
Start point map grid reference:  55H FB 52524 10232
Destination map grid reference:  55H FB 48996 07860
End point:  same as start
 

Previous Similar Walks

26 February 2015

Route


Description

We started this walk from the Fitzpatrick Trackhead, off Wee Jasper Road about 4 kilometers south of Wee Jasper. The walk can be shortened by about 2.6 kilometers by starting at a point about 2.2 kilometers further along Wee Jasper Road from Fitzpatrick Trackhead (map reference 55H FB 51293 11000).

The track up to Mt Wee Jasper is pretty much a relentless uphill climb, but the track is in great condition and is well-marked all the way. The first section parallels Wee Jasper Road for about 1.3 kilometers before turning south through farm paddocks to the Wee Jasper State Forest.

Once in the State Forest the track meanders through numerous gullies and up spurs to the summit of the mountain. We found a bit of residual snow above 1000 meters before we reached the summit, which is 1122 meters.


Not much of a view from the summit, but back down the track a bit there are some views of the western side of the Brindabellas.


We went back down the track the way we'd come until we found a sunny spot for lunch with views to the north.


We then returned to the starting point.

Thursday, 30 May 2024

Tidbinbilla Nature Reserve: Johns Peak

General Information

Grading:  hard 
Distance:  14.3 kilometers 
Total climb:  708 meters 
Time taken:  3 hours 20 minutes 
Map:  Tidbinbilla 8627-2S, 1:25 000 
Start point distance by road from Canberra GPO:  52 kilometers 
Start point map grid reference:  55H FA 71471 74628 
Destination map grid reference:  55H FA 71378 77330 
End point:  same as start
 

Previous Similar Walks

6 June 2019, 21 June 2019, 16 July 2020

Route


Description

Another hike to Johns Peak from the Mountain Creek Carpark, following the official track. I had originally planned to continue on to Tidbinbilla Peak, but the weather conditions at the top of the range were awful: cold temperature, strong winds and heavy clouds.

Refer to previous walks for more details.


Saturday, 2 March 2024

Hume and Hovell Walking Track: Along Micalong Creek to Micalong Creek Camp Ground

General Information


Distance:   15.3 kilometers
Total climb:   363 meters
Time taken:   4 hours 26 minutes
Map:  Bobbys Plains 8627-3N 1:25 000
Start point distance by road from Canberra GPO:   90 kilometers (via Brindabella)
Start point map grid reference:  55H FA 39856 94716
Destination map grid reference:  55H FA 43189 98472
End point:  same as start

Route


Description

This walk starts at the Bossowa Campsite, about 1 kilometer north of Brindabella Road on Micalong Creek. We started the walk by crossing the footbridge over the creek and following the trail around to the north east. Before long we came to a ford with some stepping stones and went back to the original side of the creek. The crossing was not easy as the rocks were irregular and slippery in places.

From here we followed the Hume & Hovell Track signs. At first we were walking along a vehicular trail which paralleled Micalong Creek. Pine forest was on the right, with native bush and views of the creek on the left.

At map reference 55H FA 41486 96674 the rack narrows to a walking trail which winds through a narrow gully above the creek with some great views.


The trail crosses over the creek, normally by a footbridge which was not at its best when we were there:

Nevertheless, we were able to cross and continue following the trail signs to the Micalong Creek Camp Ground, which is right on a very nice part of the creek.

Unfortunately the camp ground itself was a bit disappointing, with structures graffitied and items of rubbish left around.

We returned to the starting point by much the same route, but took the more direct trail at the end.

Thursday, 2 November 2023

Brindabella National Park: Devils Peak

General Information

 
Grading:  medium
Distance:   4.9 kilometers
Total climb:   268 meters
Time taken:   3 hours 30 minutes
Maps:   Cotter Dam 8627-2N 1:25 000
Start point distance by road from Canberra GPO:   48 kilometers
Start point map grid reference:  55H FA 66441 95586
Destination map grid reference:   55H FA 66448 94353
End point:  Same as start

Route


Description

This walk started at a point on Two Sticks Road under some power lines about 1.5 kilometers from the intersection of Two Sticks Road and Blue Range Road. We headed straight into the bush, which was quite thick and difficult to walk through, with virtually no hope of being able to walk in a straight line.


As we were walking the terrain kept turning us to the right, so we decided to make for the lesser peak to the north west of Devils Peak. This was not a bad decision since it gave us some good views to the north and west.

We then turned south east towards Devils Peak. We arrived at the actual peak itself, but it was thickly forested and gave no decent views. We continued south east, however, until we came to the rock face looking east, and there were great views towards Mount Blundell and Mount Coree.


We returned to our starting point pretty much the same way (but obviously not going back up the lesser peak we had climbed earlier).

Thursday, 19 October 2023

Namadgi National Park: Gorilla Rock

General Information

Grading : medium
Distance:  6.6 kilometers 
Total climb:  176 meters
Time taken:  2 hours 30 minutes
Map:  Corin Dam 8626-1N, 1:25 000 
Start point distance by road from Canberra GPO:  53.3 kilometers 
Start point map grid reference:  55H FA 78933 60480
Destination map grid reference:  55H FA 78676 62527
End point:  same as start

Route


Description

This walk starts from the Honeysuckle Creek Camping Ground near the end of Apollo Road. We first followed the walking track towards Booroomba Rocks. At map reference 55H FA 79161 61901, where the track crosses a creek, we headed bush pretty much in a straight line towards Gorilla Rock (which can't be seen until you are close to it). The bush wasn't too bad to fight through, and we eventually found what we were looking for.

 
After a look around, we headed back the same way we had come.
 

Wednesday, 14 December 2022

Barren Gounds Nature Reserve: Cooks Nose and the Natural Stone Bridge

General Information

Grading: easy
Distance: 10 kilometers 
Total climb: 239 meters 
Time taken: 2 hours 50 minutes
Map: Kangaroo Valley 9028-4S 1:25 000 
Start point distance by road from Canberra GPO:  200 kilometers
Start point map grid reference:  56H KG 90433 60727
Destination:  Cooks Nose 56H KG 88801 58583
                      Natural Stone Bridge 56H KG 91044 59371
End Point:  Same as start
 

Route


Description 

 
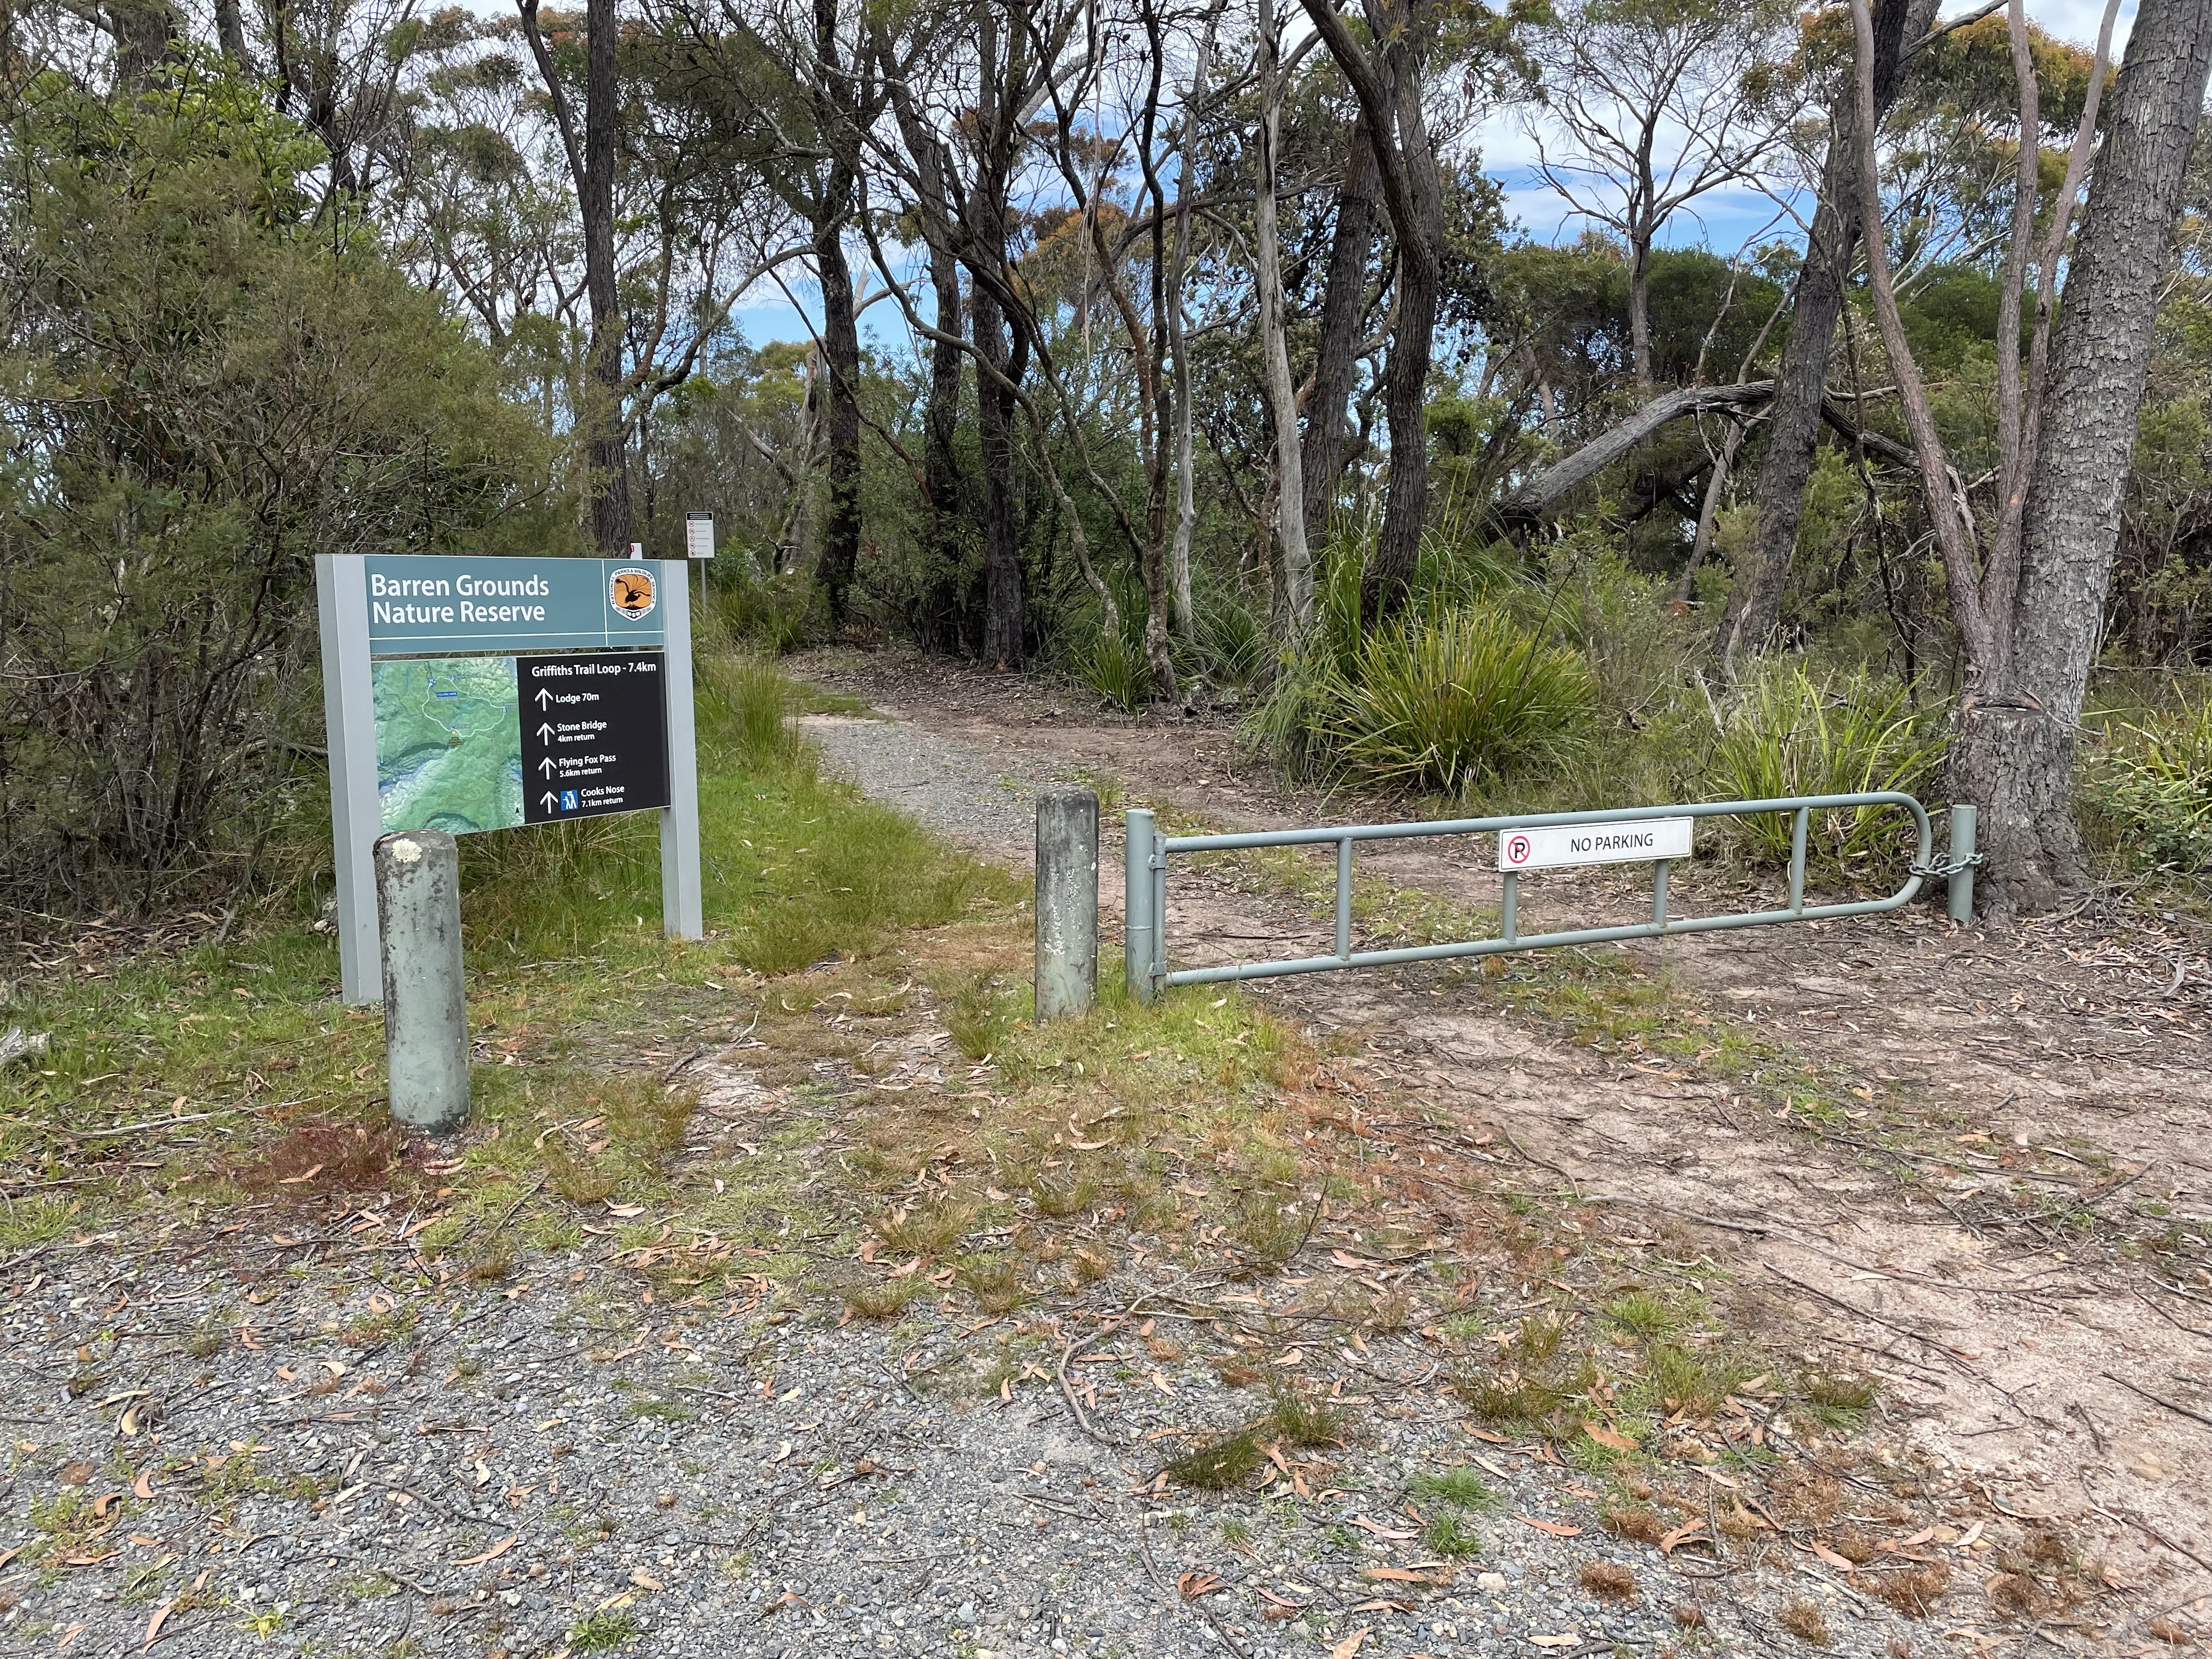
Barren Grounds Nature Reserve is to the south of Jamberoo Mountain Road, about 14 kilometers from the Illawarra Highway (at the Robertson Pie Shop).
 
This walk commenced at the Barren Grounds Picnic Area, about 1 kilometer to the right off Jamberoo Mountain Road. There are two trailheads at the Picnic Ground, but both are well signposted.


Naturally we followed the trail to Cooks Nose at the southern end of the Picnic Area. This took us initially through some flat, fairly open terrain with many varieties of wildflower still in bloom.


The trail starts to go up and down a bit after a while and is quite rocky.


Eventually we came to a walking track off to the right which took us to Cooks Nose, and some very good views into the Brogers Creek and Lamonds Creek gorges, and down towards Kangaroo Valley in the distance.

After taking in the views for a while we headed back the way we had come, but turned off at the Stone Bridge sign to have a look at the natural stone bridge about 1 kilometer away. The stone bridge itself is interesting without being spectacular, but the area around it (Lamonds Creek) is quite nice despite many mosquitos coming to feed on me.


After a break down by the Creek we retraced our steps back to our starting point.