Thursday, 21 September 2023

Uriarra: Blue Range

General Information

 
Grading: hard
Distance:   18.2 kilometers
Total climb:   737 meters
Time taken:   4 hours 25 minutes
Maps:   Cotter Dam 8627-2N 1:25 000
Start point distance by road from Canberra GPO:   37 kilometers
Start point map grid reference:  55H FA 70471 92950
Destination map grid reference:   no specific destination
End point:  Same as start

Route


Description

This walk started at the locked gate before the Blue Range Hut Camping Ground. We started by heading north, intending to visit the Sherwood daffodils, but after we turned off to the right we found that the Sherwood area was closed due to feral animal culls and we had to retrace our steps to One Stick Road. We then started climbing up towards Blue Range, at first to the west and then veering round more to the north-east, following whichever trail looked to be promising. Crossing the ACT/NSW border we found ourselves eventually on Genges Trail, which meanders along Blue Ridge. We followed Genges Trail for some distance until it ended at Blue Range Road, which we then followed back down the range. There were some great views to the east along the way from both Genges Trail and Blue Range Road.


We then followed whatever trails seemed to take us in the right direction until we came back to our starting point.
 

Tuesday, 12 September 2023

Uriarra: Two Sticks Hill and Lower Blue Ridge

General Information

Grading: hard
Distance:   16.5 kilometers
Total climb:   717 meters
Time taken:   3 hour 50 minutes
Maps:   Cotter Dam 8627-2N 1:25 000
Start point distance by road from Canberra GPO:   32 kilometers
Start point map grid reference:  55H FA 74137 95543
Destination map grid reference:   55H FA 71375 95817
End point:  Same as start

Route


Description

This walk started at a small carpark just off Mountain Creek Road 1.5 kilometers north of Uriarra Road, my usual starting point for the Sherwood Daffodils walk. Proceeding through the gate at the carpark I climbed to the top of the ridge. Passing the dam and the fence I turned off on to the rougher track to the right through the trees:


This track took me to the power lines and gave some good views to the south and east.


Past the power lines the trail follows the border of the pine plantation and becomes less distinct. Recently fallen pine trees cover the trail in a number of places. After a short distance the trail turns sharply to the west and I gradually made my way back to Sherwood Road, which I followed past the turnoff to the daffodils and over the locked gate. Keeping to the right I followed the track on the western side of Two Sticks Hill, looking for a place to climb to the summit. At map reference 55H FA 71059 96088 I found this place, which looked promising enough to try:


It was a very steep climb, but it did take me up to the NSW/ACT border marker, and past that to the rather unimpressive summit of Two Sticks Hill.


I descended the same way, which was quite tricky and treacherous given the gradient and loose surface. Back at the main track I continued north to a locked gate where I turned left up a very rough and steep trail, where I had a rare sighting of a lyrebird. This trail turned around to the south, following the base of Blue Ridge. At first the track was rough, steep and slippery, but soon became a well-maintained management trail. This trail proved to be one of the highlights of the walk: beautiful native bush and all I could hear was birds and my own footsteps. It helped that by this time the sun had come out.


I continued south along this trail until I came to map reference 55H FA 70149 94632, where I turned left and followed that trail to One Stick Road and West Knob Road, which took me back to Sherwood Road and my starting point at the carpark.


Thursday, 27 April 2023

Canberra Nature Park: Gossan Hill Nature Reserve

General Information

Grading:  easy
Distance:   9.2 kilometers
Total climb:   216 meters
Time taken:   1 hour 50 minutes
Maps:   Canberra 8727-3N 1:25 000
Start point distance by road from Canberra GPO:   6.3 kilometers
Start point map grid reference: street address
Destination map grid reference:  Gossan Hill - 55H FA 89735 97589
End point:  same as start
 

Route


Description

I started this walk from the Aranda shops in Bandjalong Crescent, Aranda, partly because it would be easy to park there, and partly because I wanted to extend the length of the walk to get to my preferred length of at least 10 kilometers. Parking was a bit more difficult than I had anticipated because it was school drop-off time. And I came up a few hundred meters short of the 10 kilometer mark.

From Bandjalong Crescent I walked down a pathway towards the Aranda playing fields and crossed Belconnen Way via the pedestrian footbridge. From there I turned left up towards Bitumen Track (aptly named) and then turned off onto Urban FT and Radford FT (tracks in the Reserve are pretty well signposted). I then took the Gossan Six FT up to a 667 meter lookout with views to the west.


Continuing past the lookout I turned right on to Gossan Seven FT where I had my first look at Gossan Hill and some views to the north and east.


At the end of Gossan Seven FT I turned left on to Middle FT, which took me to College Street near Radford College. Going bush, I followed the Radford College fence line until it took me back to Radford FT and Gossan One FT which parallels Haydon Drive. Again to extend the walking distance I crossed Haydon Drive and walked the trails behind Calvary Hospital. Near the Calvary parking station I had to go bush again. It probably would have been better to head towards Gungahlin Drive and then down to the track next to Belconnen Way.

I eventually made it back to where I started the Calvary Hospital deviation and walked up Urban FT and Middle FT to the top of Gossan Hill (at 669 meters the highest point of the walk. There wasn't much to look at there, and even the kangaroos seemed surprised that I even took the trouble.


From the summit I went back to Gossan Three FT and headed downhill to Urban FT, which took me back to the Bitumen Track near where I had left it. I decided to follow the Bitumen Track to the right (just to see what was there) and was rewarded with this view:


From there I headed back towards my starting point, taking a few deviations (again, just to see what was there).


Thursday, 6 April 2023

Kowen Forest: Glenburn Heritage Precinct

General Information

Grading:  easy
Distance:   11.9 kilometers
Total climb:   236 meters
Time taken:   2 hours 30 minutes
Maps:   Bungendore 8727-2N 1:25 000
Start point distance by road from Canberra GPO:   24.7 kilometers
Start point map grid reference: 55H GA 11271 87328
Destination map grid reference:  none
End point:  same as start
 

Route


Description

This walk started at a small car parking area before the gate on Charcoal Kiln Road, just off the Kings Highway about 200 meters past the ACT border. There is a map just inside the gate showing a number of walking options in the historic precinct, but I chose the Precinct Loop Trail and decided to do it counter-clockwise, although I have since done it in the other direction as well. The walk is pretty well signposted.

I started walking up Charcoal Kiln Road and after a bit over 3 kilometers came to the Glenburn Homestead area. There is a mown path off to the right which loops around the homestead passing by the shearing quarters and shearing shed, the Colverwell grave site and the homestead itself.


After getting back to Charcoal Kiln Road I continued past the Kowen school and the charcoal kiln sites. After the gate I turned south and followed River Road, which follows Glen Burn Creek to its junction with the Molonglo River. I continued along River Road until map reference 55H GA 08684 88952 where I turned to the right to view the Coppins Homestead ruins.


I then backtracked to map reference 55H GA 09133 89181where I turned off River Road and crossed Glen Burn Creek. At the top of the next rise I had a great view of Colliers Homestead ruins in the distance, and soon came to the ruin itself.


I continued to follow the signs to Mt Atkinson, and from there back to Charcoal Kiln Road and the car park.

Thursday, 15 December 2022

Meryla State Forest: The Top of Bundanoon Gorge

General Information

Grading: easy
Distance: 8.8 kilometers 
Total climb: 158 meters 
Time taken: 2 hours 20 minutes
Map: Bundanoon 8928-1S 1:25 000 
Start point distance by road from Canberra GPO:  163 kilometers
Start point map grid reference:  56H KG 57554 64299
Destination:   First Lookouts 56H KG 56930 63203
                      Second Lookout 56H KG 57586 63136
                      Third Lookout 56H KG 58602 63645
                      Fourth Lookout 56H KG 59358 64040
End Point:  Same as start
 

Route


Description 
 
This walk is through a quiet corner of Meryla State Forest near the village of Exeter in the Southern Highlands. The walk used to be around the perimeter of a pine forest, but the pines have now all been harvested, probably after the 2020 bushfire. Unfortunately this means that the left hand side of the track throughout the walk is pretty ugly...
 
 
...so it's all about the lookouts over Bundanoon Gorge.
 
The start of the walk is at the end of Rosedale Road, before the entry to Filbert's Farm. There are “no parking” signs along Rosedale Road, so we had to cross over into the State Forest area; easy to find because there are no fences there. You can pretty much park anywhere, but we decided to find a shady spot off to the left and round a sharp bend.

We followed a counter-clockwise route around the management trail that borders the former pine forest. Along this trail it's just a matter of looking for minor tracks on the right, which invariably led to lookouts. The first lookout was over the Stonequarry Creek Gorge, but the remainder were all over Bundanoon Gorge, which became narrower as we progressed. Plenty of great views from all lookouts, but be aware that there are no protective barriers and it's a long way down...


To return to our starting point we just continued around in a loop around the former pine forest.

Wednesday, 14 December 2022

Barren Gounds Nature Reserve: Cooks Nose and the Natural Stone Bridge

General Information

Grading: easy
Distance: 10 kilometers 
Total climb: 239 meters 
Time taken: 2 hours 50 minutes
Map: Kangaroo Valley 9028-4S 1:25 000 
Start point distance by road from Canberra GPO:  200 kilometers
Start point map grid reference:  56H KG 90433 60727
Destination:  Cooks Nose 56H KG 88801 58583
                      Natural Stone Bridge 56H KG 91044 59371
End Point:  Same as start
 

Route


Description 

 
Barren Grounds Nature Reserve is to the south of Jamberoo Mountain Road, about 14 kilometers from the Illawarra Highway (at the Robertson Pie Shop).
 
This walk commenced at the Barren Grounds Picnic Area, about 1 kilometer to the right off Jamberoo Mountain Road. There are two trailheads at the Picnic Ground, but both are well signposted.
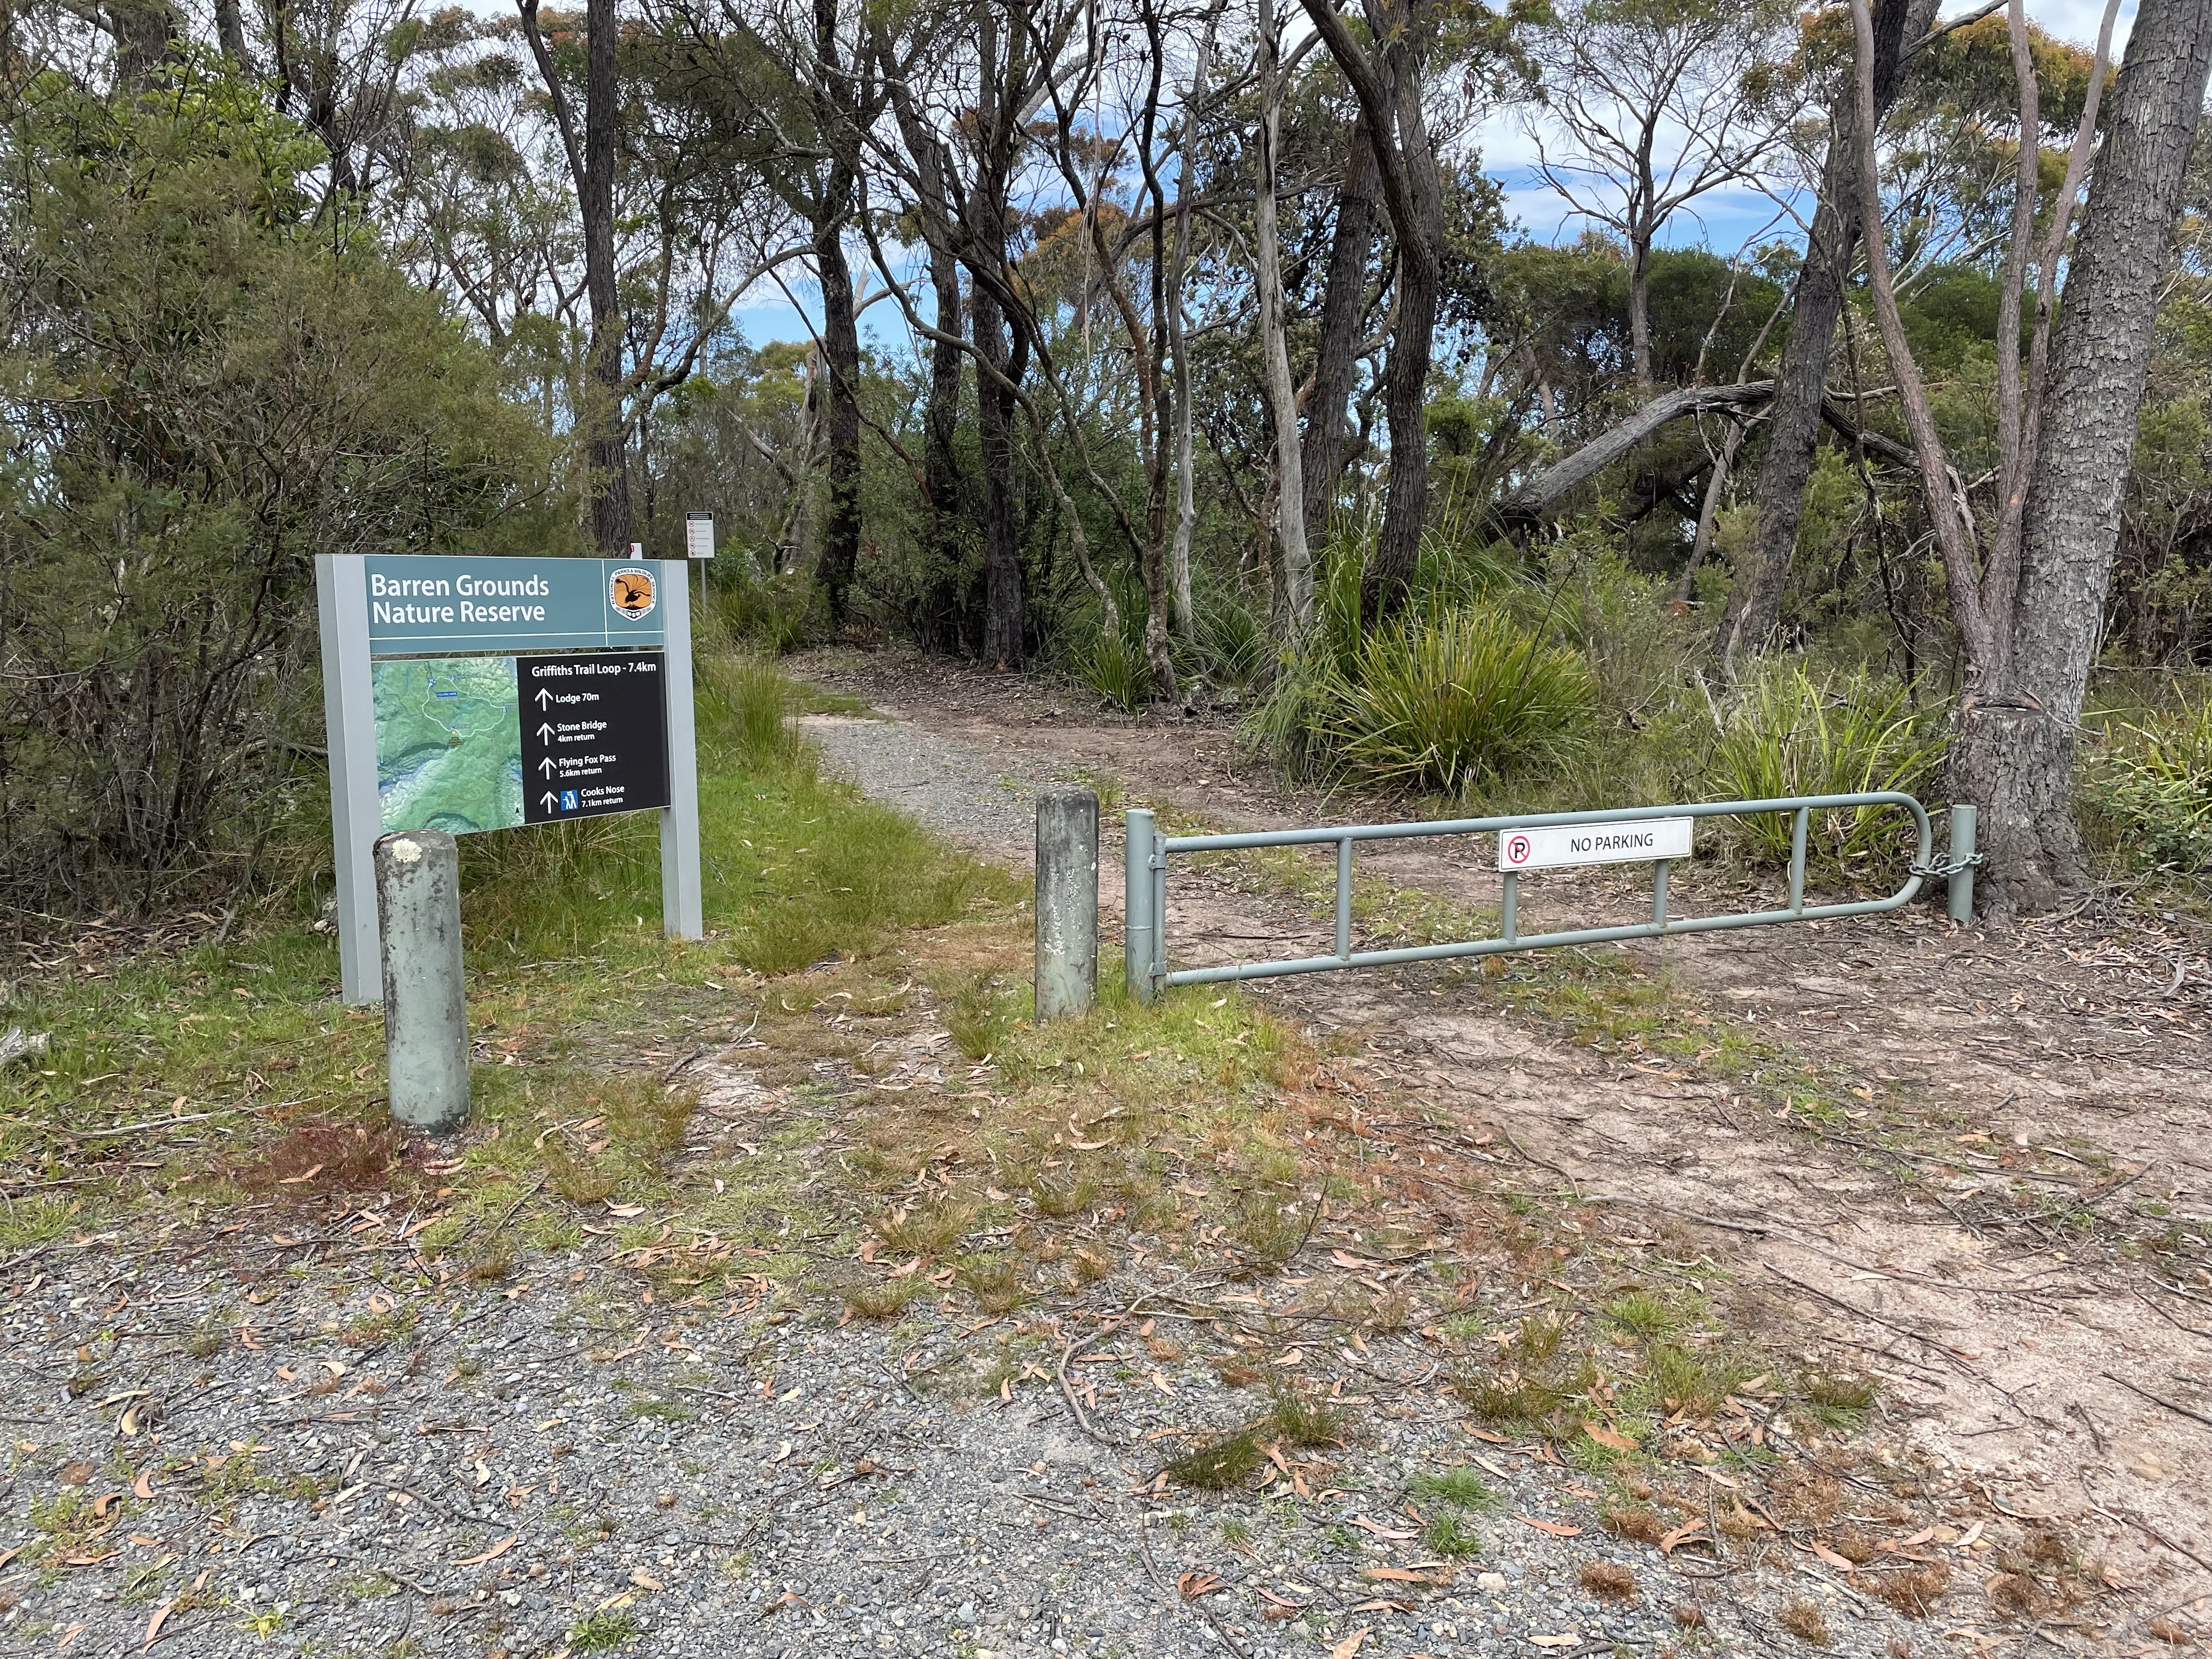

Naturally we followed the trail to Cooks Nose at the southern end of the Picnic Area. This took us initially through some flat, fairly open terrain with many varieties of wildflower still in bloom.


The trail starts to go up and down a bit after a while and is quite rocky.


Eventually we came to a walking track off to the right which took us to Cooks Nose, and some very good views into the Brogers Creek and Lamonds Creek gorges, and down towards Kangaroo Valley in the distance.

After taking in the views for a while we headed back the way we had come, but turned off at the Stone Bridge sign to have a look at the natural stone bridge about 1 kilometer away. The stone bridge itself is interesting without being spectacular, but the area around it (Lamonds Creek) is quite nice despite many mosquitos coming to feed on me.


After a break down by the Creek we retraced our steps back to our starting point.

Tuesday, 13 December 2022

Gibbergunyah Reserve

General Information

Grading: easy
Distance: 6.9 kilometers 
Total climb: 307 meters 
Time taken: 2 hours 30 minutes
Map: Mittagong 8929-2S 1:25 000 
Start point distance by road from Canberra GPO:  175 kilometers
Start point map grid reference:  56H KG 62016 85533
Destination:  none
End Point:  Same as start
 

Route


Description 

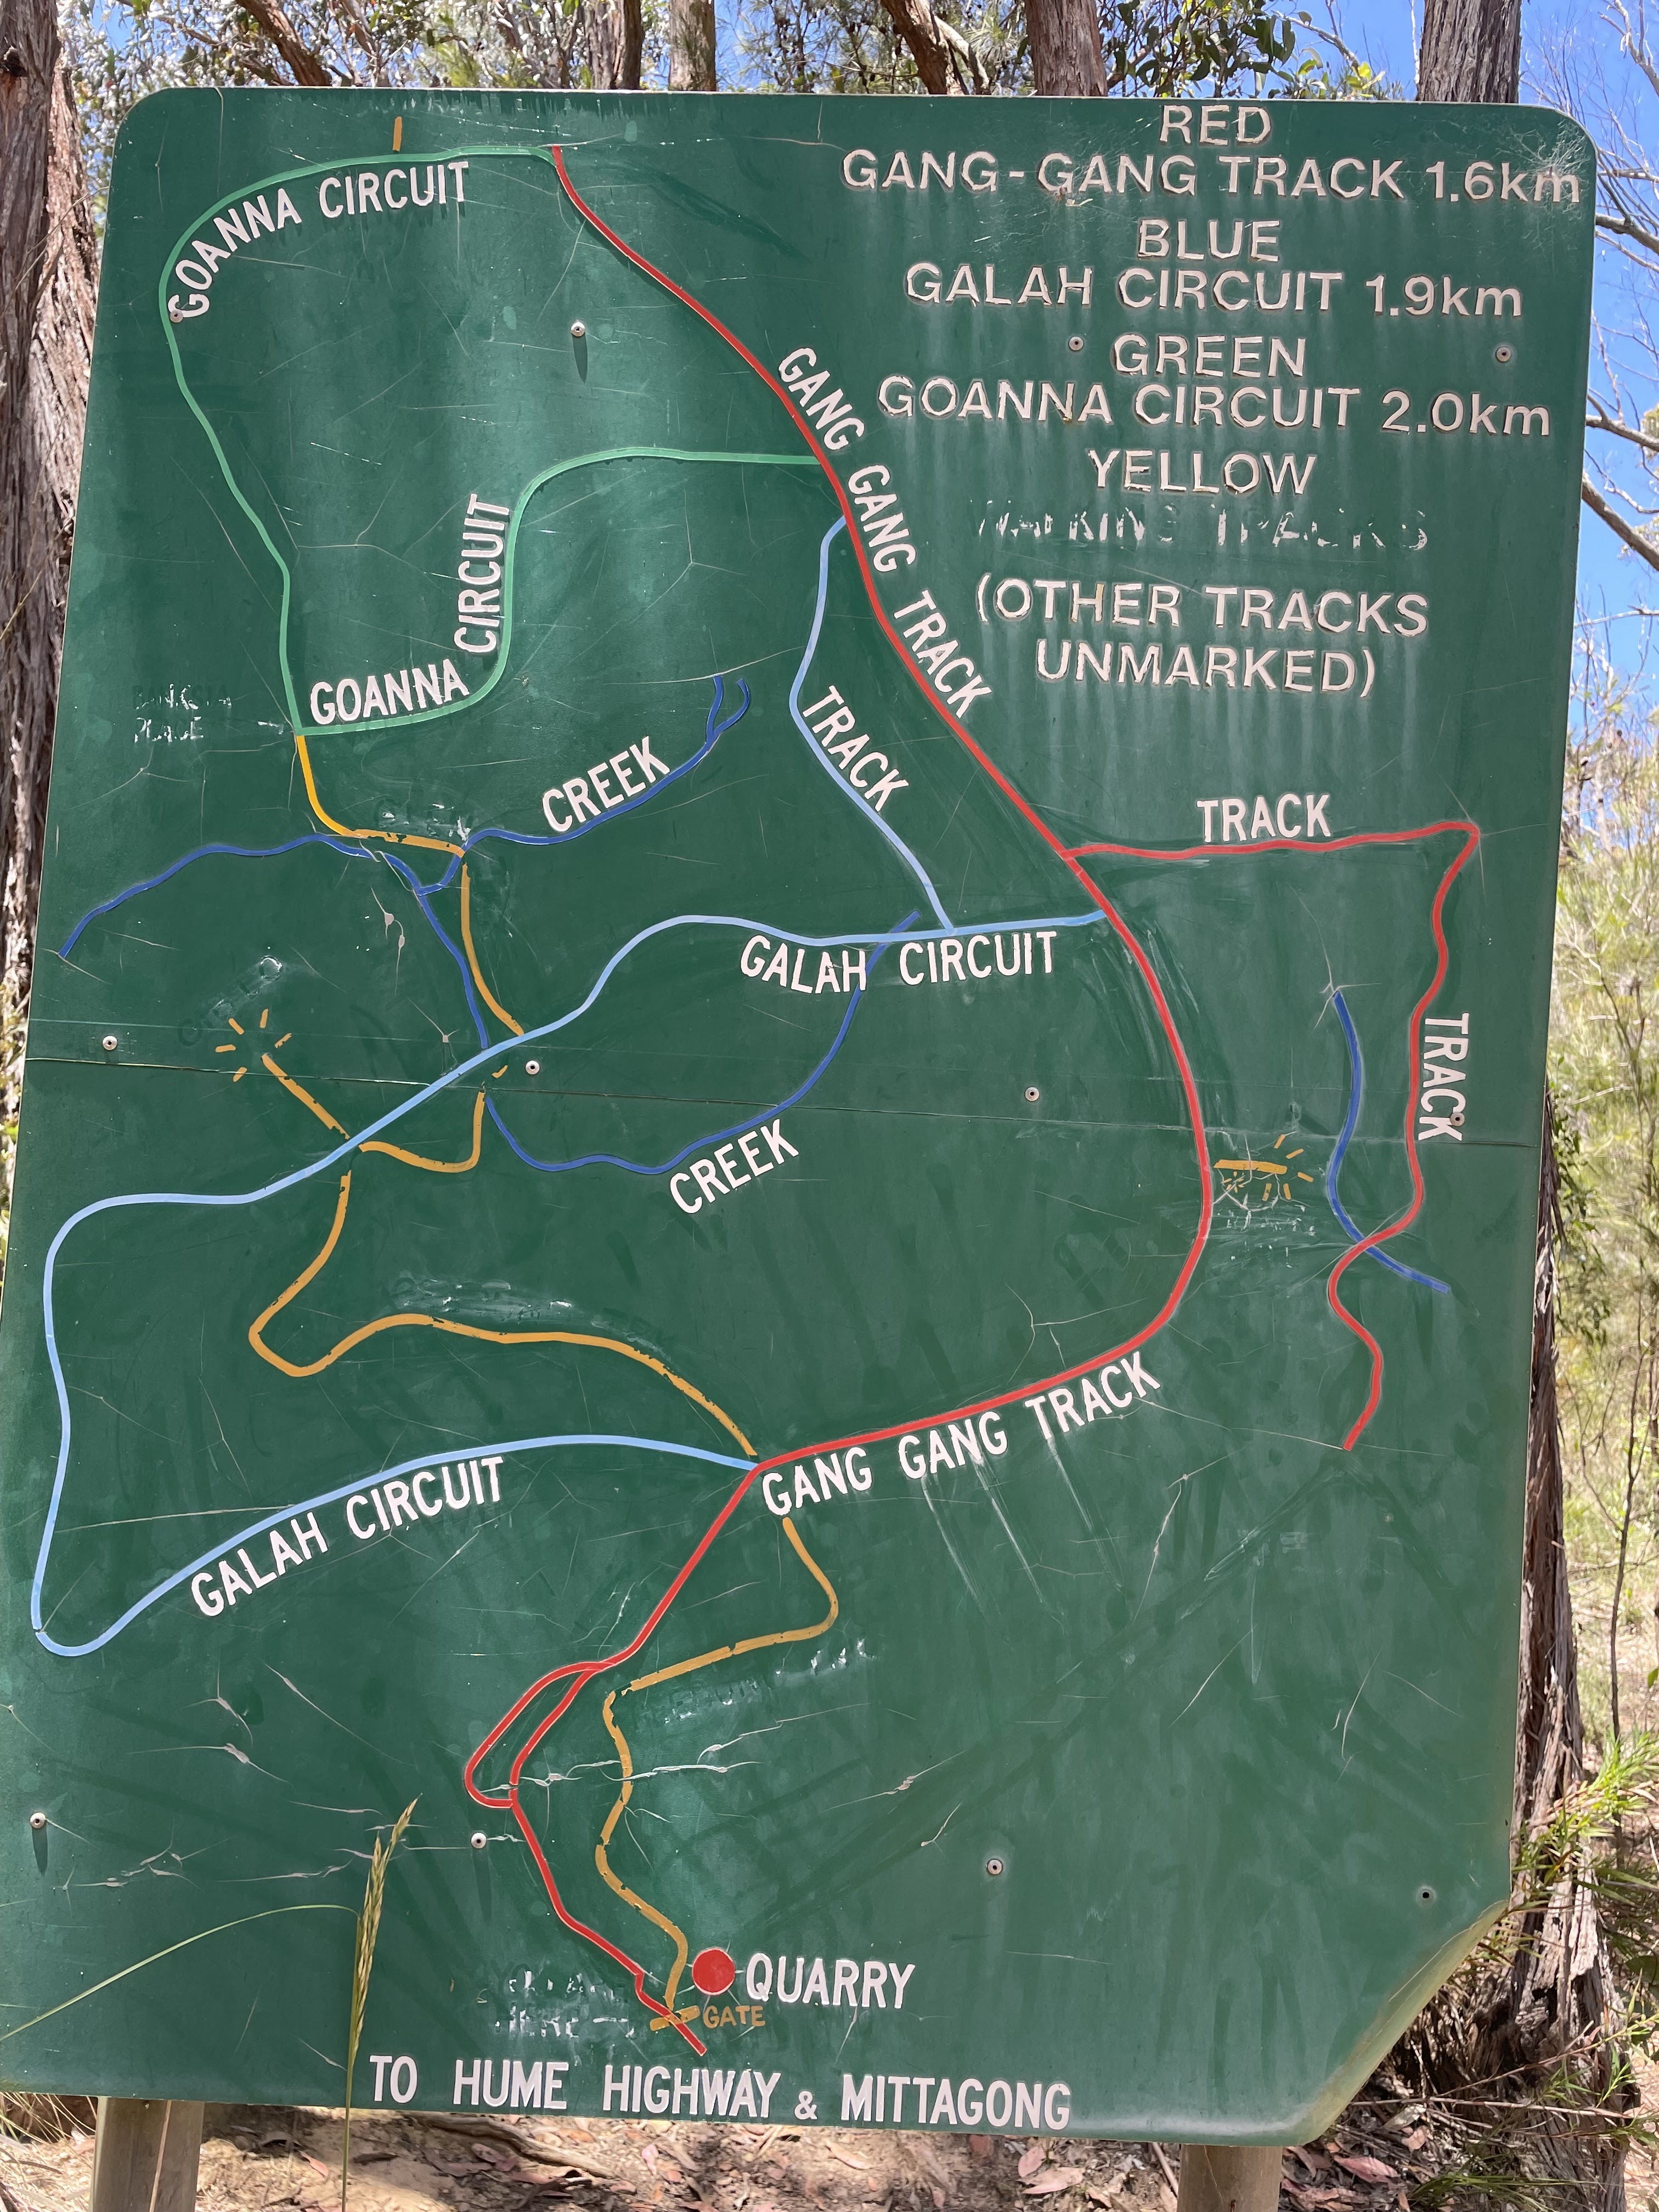
Gibbergunyah is a small reserve that sits between Mittagong and Bowral. It can be accessed from either town, but we started our walk from the Mittagong side. The access point is a locked gate on Howards Way, about 4 kilometers west of the centre of Mittagong. There is a sign here with a map of the walking tracks in the Reserve, and it's a good idea to take a picture of it before setting out. It should be noted that there is traffic noise from the nearby Hume Motorway on the Mittagong side of the Reserve, so this really isn't a walk for people who like the quiet sounds of the bush.


We started up the walking track to the right of the locked gate (shown in yellow on the guide map) and gradually climbed through forest until it met the Gang Gang Track. There were still plenty of wildflowers about, even though it was (notionally) Summer.


We followed the Gang Gang track to the right until we came to a walking trail on the right leading up to Ninety Acre Hill lookout, which has limited views to the northwest.


Returning to  Gang Gang Track, we followed it to the end and turned left onto Goanna Track, which we followed around until it turned sharply left. Here we left  Goanna Track and followed a walking trail down into a rainforest gully.


Unfortunately we found the trail a bit difficult to follow and soon lost it altogether. We were able to bush bash our way out of the gully and back to the Gang Gang Track, which we followed back to our starting point.

Thursday, 10 November 2022

Tidbinbilla Nature Reserve: Gibraltar Peak via Devils Gap

General Information

Grading: medium
Distance: 12 kilometers 
Total climb: 575 meters 
Time taken: 3 hours
Map: Tidbinbilla 8627-2S 1:25 000 
Start point distance by road from Canberra GPO:  46 kilometers
Start point map grid reference:  55H FA 74405 73675
Destination:  55H FA 76675 74314
End Point:  Same as start
 

Route 

 
Note: Forget about the straight line shown below at the end of the walk. It appears that my GPS watch had a slight glitch.


Description 

This walk started at the Devils Gap carpark on the Tidbinbilla Reserve ring road. I  followed the Devils Gap fire trail past the gate at the border of the Tidbinbilla Nature Reserve and down to the intersection of numerous management trails at map reference 55H FA 75791 72572.


I took the first trail on the left, which headed back in the general direction I had come from.

This trail is quite rough and a bit overgrown, so I started my habitual snake scanning as I progressed up the hill. At map reference 55H FA 75730 73058 there was another trail heading off to the left.

I followed this trail around to the top of the hill just north of Devils Gap. At map reference 55H FA 75630 73273 I left the track and went bush, following the ridge line down the first hill and up and down a second. The bush was not easy, but not particularly difficult either. Initially it was a bit like this:

Toward the top of the second hill, however, it became a bit rocky and scrubby and my progress was a lot slower. I was also looking out for snakes behind every rock and fallen branch.

By following the ridge I eventually came to the fire trail leading up to Gibraltar Peak, which I had to climb once again to take in the view.

Coming back down from the Peak to the management trail I turned left and went down a very steep slope and followed the signs towards Woods Reserve. This took me along the Gibraltar South fire trail and back to the Devils Gap trail. From there it was an easy walk back to the car park.