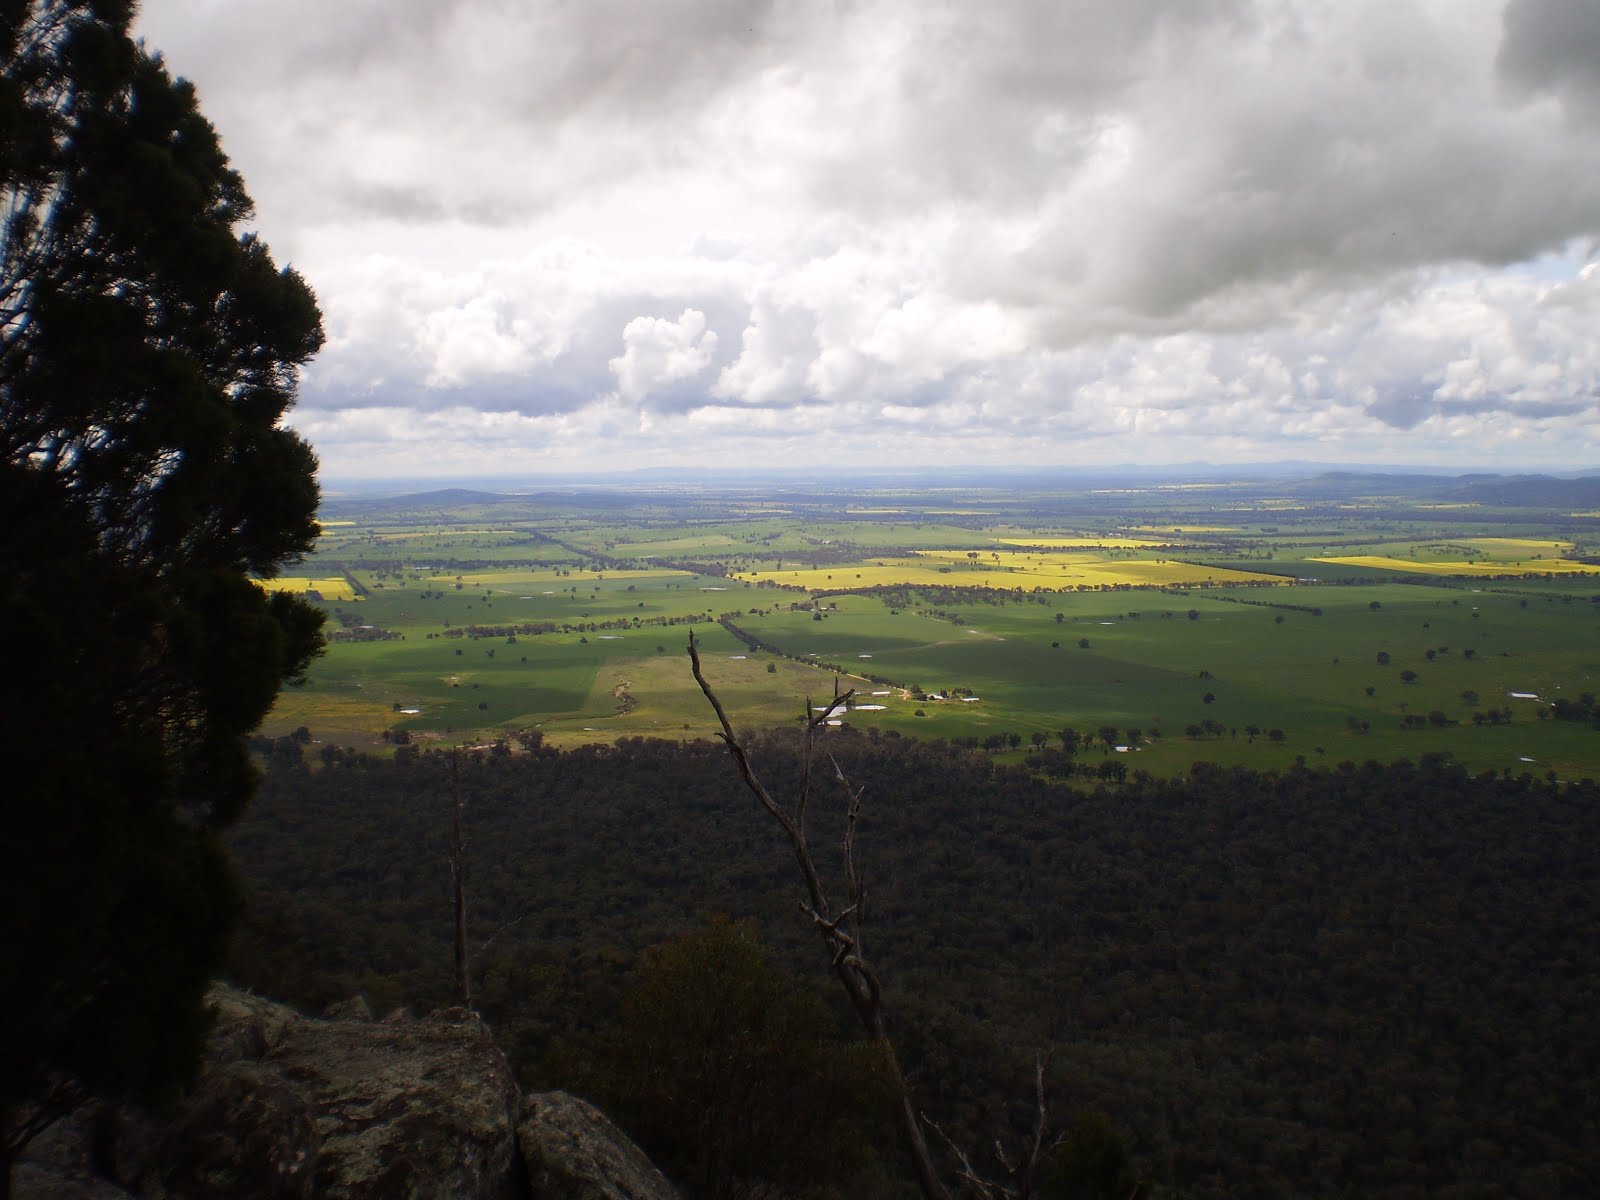
Tuesday, 29 November 2016

Googong Dam: Kayaking from Tin Hut Inlet to London Bridge Arch

General Information


Distance:  4.9 kilometers
Total climb:  n/a
Time taken:  1 hour
Map:  Hoskinstown 8727-2S, 1:25 000
Guide:  link
Start point distance by road from Canberra GPO:  40 kilometers
Start point map grid reference:  55H GA 05482 69442
Destination map grid reference:  55H GA 05175 67464
End point:  same as start


Route


http://maps.six.nsw.gov.au/

Description


While walking in Bungonia Gorge a few days ago I met another hiker from Canberra who mentioned that the water levels in Googong Dam were so high that it was possible to kayak from Tin Hut Inlet down Burra Creek almost to London Bridge Arch. Having hiked in that area almost two years ago I was keen to have a look.


Having parked my car at Tin Hut carpark, I first needed to get my kayak down to the water's edge about 300 meters away down a rough track [note that soon after the carpark the track divides, with the more travelled alternative heading north along the western foreshore - this is not the right track, so keep heading east down the less clear track.]. getting down to the water wasn't too difficult with the help of a kayak trolley, and at the end of the track there is a suitable place for launching. Once in the water, I headed south along the western edge until I entered Burra Creek, which was quite wide initially and there are some very scenic spots.


As I progressed, the creek became narrower and some parts very shallow. I was usually able to find a deeper channel to get through, but in any case I was able to glide over a number of shallow sections without scraping the bottom. There were some submerged rocks at one point that I had to negotiate, and some more obvious rocks further on, but these were not difficult to get around. By the time I could see London Bridge Arch, however, the creek was quite narrow and very shallow.


Only about 40 meters from the Arch the rocks stopped me from kayaking any further, so I pulled up the kayak at this point and went on to the Arch on foot.


I went back to Tin Hut Inlet the same way.

This was a great short paddle with a rewarding journey and interesting destination. It's a shame that once the water goes down again it will not be possible to kayak this near to the Arch, but it may be possible from time to time if you watch the Googong Dam water levels. I suppose it is possible for intrepid kayakers to travel the 22 kilometers from Drumstick Point on the northern end of Googong to London Bridge Arch and return. My arms and shoulders couldn't take it, I'm sure.

Saturday, 26 November 2016

Tidbinbilla Nature Reserve: Camels Hump (3)

General Information


Distance:  13.2 kilometers
Total climb:  649 meters
Time taken:  3 hours
Map:  Tidbinbilla 8627-2S, 1:25 000
Guide:  link
Start point distance by road from Canberra GPO:  49 kilometers
Start point map grid reference:  55H FA 71471 74624
Destination map grid reference:  55H FA 72016 79083
End point:  same as start


I completed this exact walk by myself a few weeks ago, on 27 October 2016. I had also done a slightly longer version of this walk (taking in Pierce Hill as well as Camels Hump) back in May 2015. See blog for the May 2015 hike.

Thursday, 24 November 2016

Bungonia National Park: Bungonia Gorge to Shoalhaven River

General Information


Distance:  10.5 kilometers
Total climb:  300 meters
Time taken:  6 hours
Map:  Caoura 8928-3N; 1:25 000
Guide:  link
Start point distance by road from Canberra GPO:  124 kilometers
Start point map grid reference:  56H KG 27160 44914
Destination map grid reference:  56H KG 29266 45882
End point:  same as start


Route


http://maps.six.nsw.gov.au/


Description

This was essentially the reverse of the hike I completed on 20 June 2016 (so also refer to commentary for this hike). We again started at the David Reid carpark and followed the Green Track east until it met the intersection with the Red Track and the White Track, near Mt Ayre. This time we followed the extremely steep Red Track down to Bungonia Creek and turned west toward the Bungonia Slot Canyon. Reaching the Canyon we began the scramble over, around and under the boulders that make moving along the Canyon a major expenditure of effort. After a while we decided not to waste any more time in the boulders and headed back down Bungonia Creek towards our destination where the creek meets the Shoalhaven River. This was not an easy walk, mostly over small rocks and requiring several creek crossings and one detour around a brown snake. The Creek was, however, very pretty.


About 200 meters from the Shoalhaven we came across a wide and deep pool in the Creek where some of us stopped for a quick swim before reaching our destination soon after. We picked up the White Track at this point and headed back up out of the gorge. This track was very steep and required a lot of energy at the end of the day, but those of us who had previously climbed up the Red Track considered it marginally easier.

Thursday, 3 November 2016

Tidbinbilla Nature Reserve: Billy Billy Rocks - West/East Route

General Information


Distance:  5.5 kilometers
Total climb:  300 meters
Time taken:  5 hours 20 minutes
Map:  Corin Dam 8626-1N 1:25 000
Guide:  None available for this route
Start point distance by road from Canberra GPO:  48 kilometers
Start point map grid reference:  55H FA 73985 69672
Destination map grid reference:  55H FA 71961 69141
End point:  same as start


Route


http://maps.six.nsw.gov.au/

Description


Billy Billy Rocks is a rocky peak in the south of the Tidbinbilla Nature Reserve. Having previously hiked to Billy Billy Rocks via the north-south route from Square Rock carpark, we decided to try out the west-east route from further back on the Corin Road near Billy Billy Creek. We had heard that there was a distinct walking track here which was favoured by rock climbers. There is no track from Square Rock carpark, and it is a difficult walk through thick undergrowth and fallen trees.

The starting point for the hike was a management trail off the Corin Road which loops back onto Corin Road about 140 meters south. We followed this trail from the start point for about 300 meters, but failing to find the start of the walking track, we started to head through the bush. This was a mistake, as we found later that the start of the walking track was only about 150 meters further on, closer to the southern intersection with Corin Road. We almost immediately struck thick undergrowth which continued unabated as we first climbed the ridge to the south of Billy Billy Creek and then turned northwest to approach Billy Billy Rocks from the east. We arrived at the edge of the Rocks after spending almost three hours fighting through 2.2 kilometers of scrub. At this point we decided to have lunch. While we were eating lunch my co-hiker saw behind us a ribbon tied to a tree, and then another one. We had finally found the elusive walking track.


The walking track continued into the Rocks themselves, and we naturally took the opportunity to explore them, guided by a series of small marker cairns. We soon found a high rock shelf with views towards the Tidbinbilla Range and the Tidbinbilla Valley, as well as Namadgi National Park in the distance.


We continued into the maze of rocks, clambering over, under and through them, all the time following the marker cairns.


After about 45 minutes exploring we decided to head back. We retraced the marker cairns to where we had first sighted the walking track. We continued along the track, which was mostly easy to pick out, with the occasional pink ribbon giving us some assurance that we remained on it. The track made its was down to Billy Billy Creek, which we immediately crossed. There is then a slight climb before the track heads down the ridge south of Billy Billy Creek (but higher up than we had gone on the outward journey). The track passes over a large number of low rocky outcrops and we needed to be constantly vigilant for small stone cairns, cuts through the undergrowth or other markers to ensure that we remained on the track. We did lose the track on a few occasions, but we were able to recover it by backtracking to the last marker we sighted.

Eventually we came to an open grassy area and it is here that the track meets the management trail we started on, but more towards the southern intersection with Corin Road. There is a small stone cairn just off the road which indicates the start of the trail. My GPS gave the coordinates for this point as 55H FA 73830 69479.

Unless you enjoy thrashing through dense scrub, do not do what we did. Look for the start of the walking track, and if you don't find it, go home. The walking track is still quite a challenging hike. Apart from the difficulty keeping on the track, even with the markers, it is quite steep in parts and the rocky sections are pretty hard on your feet. Still it is far superior to bush bashing through from either the south or the west of Billy Billy Rocks. The rocks themselves are well worth the effort, but time needs to be allowed for exploring the labyrinth of rocks at the top. There are plenty of good views and interesting formations. We even saw (through a small crawlspace) what looked like a military munitions box, possibly the geocache located among the Rocks.

Thursday, 27 October 2016

Tidbinbilla Nature Reserve: Camels Hump (2)

General Information


Distance:  13 kilometers
Total climb:  649 meters
Time taken:  2 hours 55 minutes
Map:  Tidbinbilla 8627-2S, 1:25 000
Guide:  link
Start point distance by road from Canberra GPO:  49 kilometers
Start point map grid reference:  55H FA 71471 74624
Destination map grid reference:  55H FA 72016 79083
End point:  same as start


I previously completed the walk to Camels Hump on 2 May 2015, although that first time I also walked to Pierce Trig, further along the Tidbinbilla Range. Refer to the blog for this May 2015 walk.

Thursday, 20 October 2016

Deua National Park: Wyanbene Trig and Minuma Range

General information


Distance: 6.6 kilometers
Total climb: 407 meters
Time taken: 3 hours 15 minutes
Map:  Krawaree 8826-3N 1:25 000
Guide:  link
Start point distance by road from Canberra GPO:  139 kilometers via Braidwood
Start point map grid reference:  55H GA 42461 35502
Destination map grid reference:  55H GA 44985 36575 [not reached]
End Point:  same as start


Route


http://maps.six.nsw.gov.au/

Description


The starting point for this hike was the Wyanbene Caves camping ground. To get there we drove to Captains Flat and from there followed Braidwood/Captains Flat Road to Cooma Road. We turned south on Cooma Road and travelled just over 20 kilometers to Wyanbene Road on the left. We then followed Wyanbene Road for 8 kilometers until it ends at the camping ground. We started hiking at 10:15am. First we followed the short walking trail up to Wyanbene Caves, which is gated but not locked. We chose not to go down into the cave, however, and continued our hike. At first we climbed upwards in a northwesterly direction to make our initial ascent less steep, but after a while we decided to go straight up Wyanbene Caves Mountain. This proved to be a very steep climb through fairly open forest with a rocky and leaf-strewn floor.


We eventually reached the ridge northwest of Wyanbene trig - the first 900 meters of the hike having gained us about 220 meters in elevation - and from there walked up to the trig itself.


Not much in terms of views from the trig due to the dense tree cover, but there were glimpses of what was to come. From the trig we headed due east down a ridge until we met the northern end of Minuma Ridge Fire Trail, and from there climbed up the ridge to the north northeast and then to a large rocky outcrop from where we continued to follow the narrow ridge of the Minuma Range to the northeast. The ridge affords some great views out to the southwest and northeast.


We also found the abandoned mine at the top of the ridge that was mentioned in John Evans' 2009 blog (see above) that we used as a guide for this hike. Evans' blog said that the walk along the ridge was "...through dry, open forest", but clearly things have changed in the last seven years. We found the ridge choked with undergrowth that we had to force our way through and this was both tiring and time-consuming. Some further views provided some compensation though.


After almost an hour-and-a-half of struggling 2 kilometers through the undergrowth we reached the peak on the ridge marked on the map at 1024 meters elevation. We paused for some lunch there and discussed our options. Initially we had intended to walk further along the ridge to a high point overlooking the valley, but we couldn't face another hour or more of bashing through the undergrowth. Instead we looked for a nearby route back down the northwestern side of the range, and found a suitable ridge not much further on. When we arrived at the ridge we discovered a track which took us straight down it. The track seemed like it is no longer used, and is starting to become overgrown in some parts with the same undergrowth we found at the top of the range. It is mostly easy to follow by looking for what we assumed to be erosion prevention mounds along the track. When we were getting close to 800 meters elevation we left the track (which continued to the northwest) and headed southwards back towards the camping ground through open forest and ferns. A passing brown snake made us more cautious as we went. We returned to Canberra via Braidwood so we could stop at the very friendly Royal Mail Hotel for a beer or two.

This was a difficult walk through what was for us an unknown area. Normally I would consider a walk of 6.6 kilometers to be a short stroll, but we came out of it tired and footsore. This is not a walk for everybody, but the views were spectacular, particularly to the east and southeast.

Saturday, 15 October 2016

Tidbinbilla Nature Reserve: Nil Desperandum to Tidbinbilla Visitors Centre

General Information


Distance:  13 kilometers
Total climb:  500 meters
Time taken:  4 hours
Map:  Tidbinbilla 8627-2S 1:25 000
Guide:  link
Start point distance by road from Canberra GPO:  50 kilometers
Start point map grid reference:  55H FA 74483 78216
Destination map grid reference:  55H FA 76327 76389
End point:  same as start


Route


http://maps.six.nsw.gov.au/

Description


While staying at Nil Desperandum homestead for a weekend, we decided to do a walk to the Tidbinbilla Visitors Centre, primarily for a coffee since my camp espresso pot was not working to my liking. We followed the signs from the homestead along Boundary Trail, Nils Trail, Gilmores Road and River Road until we crossed the Tidbinbilla River at Greens carpark. From there we followed a walking track to the left until it came out on Tidbinbilla Reserve Road, which we followed to the Visitors Centre.

After a deeply satisfying strong black coffee, we retraced our steps to the point on Gilmores Road at map grid reference 55H FA 74363 76371 where we turned on to a link road that took us to Boundary Trail. We followed Boundary Trail up and down the very steep hill marked at elevation 865 meters on the map and back to Nil Desperandum.

It is really only practical to do the walk this way if you are staying at Nil Desperandum. Generally you would do the walk from the Visitors Centre or Greens carpark (see previous walk on 19 May 2016). The return journey that we did over the very steep hill isn't for the faint hearted, and it is much easier to keep to Gilmores Road.

Friday, 7 October 2016

Namadgi National Park: Rendezvous Creek Rock Art Shelter (1)

General Information


Distance:  15.5 kilometers
Total climb:  383 meters
Time taken:  4 hours 20 minutes
Map:  Rendezvous Creek 8626-1S; 1:25 000
Guide:  Graeme Barrow, Namadgi and Tidbinbilla Classics. Tough Bushwalks in Canberra's 
                                       High Country (Canberra, 2000), pp.54-58.
Start point distance by road from Canberra GPO:  66 kilometers
Start point map grid reference:  55H FA 80598 44229
Destination map grid reference:  55H FA 76252 46466 [approximate; rock art not found]
End point: same as start


Description


The starting point for this walk is the Rendezvous Creek carpark off Boboyan Road about 30 kilometers south of Tharwa. A well-marked walking track starts from the carpark and follows Rendezvous Creek for about 500 meters before an iron walking bridge allows hikers to cross the Creek without getting wet. The track then leads up to a lookout with a viewing bench and some information on dingos and wild dogs. Leaving the lookout, the walking track continues into the Rendezvous Creek valley, a wide, kangaroo-filled, grassy tract with high ridges on both sides.


Around 1.5 kilometers into the hike, the walking track meets a management trail that continues up the valley to the northwest. The trail is very distinct, but was waterlogged along much of its length following recent record-breaking rain.


It didn't take long for the boots and gaiters to get wet and muddy.


About 4.5 kilometers into the walk, we came across the remains of Rowleys Rendezvous Creek Hut, which was built in 1950. Many internet sources say that the hut was burnt down in the 2003 Canberra Bushfires. The Kosciuszko Huts Association, however, says that:

This hut was burnt down in 2003, by persons unknown. Circumstances indicate that it may have been done deliberately by pig shooters, however police investigations were inconclusive. Namadgi NP management have refused point-blank to allow KHA to rebuild the hut at our expense.
[https://khuts.org/index.php/the-huts/act-huts/29-rowleys-rendezvous-creek-hut]

There is very little left of the hut today - some bricks from the chimney and some burnt stubs of timber posts.


Having had morning tea at the site of Rowleys Hut, we continued along the trail in search of the rock art shelter nearby. Unfortunately the trail to the rock art site mentioned in Graeme Barrow's book no longer exists, or at least we could not find it. Based on the map in Barrow's book, however, we estimated a GPS location and made our way up into the trees.

As soon as we entered the tree line we were faced with thick and tangled scrub which limited visibility and made the search for the rock art all the more difficult. We spent about 40 minutes in this scrub investigating every rock formation we saw, but did not find the rock art. We bashed our way back to the management trail which we followed further to the northwest in the hope that the track to the rock art was further on. Again we investigated some promising rock formations without success, and eventually decided to head back to the car back through the valley.


Despite the disappointment of not locating the rock art, this was a particularly scenic hike with plenty to hold our interest. There is plenty of wildlife - we saw kangaroos, a lone falcon, and the odd rabbit, and found footprints of feral pigs and a dingo/wild dog in the mud. The track through the open valley is easy to follow and requires little climbing. Unfortunately it was very waterlogged at the time we did the hike, and it would probably be more comfortable in drier conditions. Still, there is some satisfaction in squelching through the water and mud.

Sunday, 25 September 2016

Abrahams Bosom Reserve: Gosangs Tunnel and Mermaids Inlet

General Information


Distance:  5.7 kilometers return
Total climb:  negligible
Time taken:  1 hour 30 minutes
Map:  Currarong 9027-1N 1:25 000
Guide:  link
Start point distance by road from Canberra GPO:  218 kilometers
Start point map grid reference:  56H LG 01850 23575
Destination map grid reference:  56H LG 03431 23844
End point:  same as start


Route


http://maps.six.nsw.gov.au/

Description


This short hike is part of a longer walking track loop around Abrahams Bosom Reserve on the Beecroft Peninsula, which forms the northern head of Jervis Bay. Although I have done the full loop previously, time restrictions meant that on this occasion we could just go as far as Mermaids Inlet and back. The walk commenced from the carpark at Abraham's Bosom Beach at the end of Beecroft Parade, Currarong. From there it is a short walk to another carpark, and the track itself begins properly after crossing a bridge over Abrahams Bosom Creek. About 300 meters from the bridge we left the Abrahams Bosom Walking Track on a minor trail to the left and after a further 465 meters arrived at Whale Point, where the rusted remains of SS Merimbula can still be seen on the rocks. It ran aground there almost 90 years ago (27 March 1928), so there is little left of it today.


We continued along the side track until we rejoined the main track, which at this point is known as Coomies Walk.


There were large puddles of water over the track at a few points here, and it was necessary to step around them or just wade through. About 800 meters from where we rejoined Coomies Walk there was a sign pointing left to Gosangs Tunnel. We followed this indistinct trail and found the Tunnel not much further on. The entrance to Gosangs Tunnel is quite small, and may be difficult to see at first. Just follow the well-worn track.


Inside, the Tunnel narrows and headroom diminishes quickly. It is necessary to crouch hunched over or crawl on hands and knees to get through to the other side.


At the other side is a rock ledge above the ocean which gives amazing views of the sea cliffs and the open ocean.


Leaving back through the Tunnel, we backtracked to the sign that directed us to Gosangs and headed towards Mermaids Inlet. This was another rough track through some scrub and to the end of the Inlet, from where we could walk along a narrow track along the northern cliff above the inlet. This also had excellent views of the cliffs and ocean beyond.


From here we backtracked to Coomies Walk and headed back to the carpark much the same way as we had come. This was a good short walk with some interesting features and excellent views.

Saturday, 17 September 2016

Weddin Mountains National Park: Holy Camp to Ben Halls Camping Ground

General Information


Distance: 13.85 kilometers return
Total climb: 762 meters
Time taken: 3 hours 40 minutes
Maps:  Grenfell 8530-S 1:50 000; Marsden 8430-S 1:50 000
Guide:  link
Start point distance by road from Canberra GPO:  221 kilometers
Start point map grid reference:  55H EC 92712 48676 [Grenfell]
Destination map grid reference:  55H EC 88176 47986 [Marsden]
End point:  same as start


Route


http://maps.six.nsw.gov.au/

Description


The starting point for the hike was Holy Camp on the eastern edge of the National Park. Approaching from Grenfell, I drove Holy Camp Road for 14 kilometers until it ends at Holy Camp carpark. The first 10 kilometers of Holy Camp Road is sealed, although narrow, and possibly from what I saw flood-prone. The final 4 kilometers is gravel, and after the recent rain was in a pretty bad state. I had no difficulty getting through, albeit slowly, with a Honda CRV. I commenced hiking at 11:30am, following a clearly signposted and easy-to-follow track, with the Weddin Mountain Range looming above.


The track passes through open forest for 900 meters before striking the gully of an unnamed creek, where the track is a bit more difficult to follow, particularly where it goes over rocks.

About 600 meters elevation (200 meters above and 1.4 kilometers distance from the starting point), a short side-track takes hikers to the first vantage point on the ascent, Peregrine Lookout. There are some excellent views here to the north and east.


Continuing along the track up a steep climb for another 1.2 kilometers, there is eventually another short side-track leading to Eualdrie trig. At 733 meters elevation, Eualdrie also has excellent views to the north and east (though probably more spectacular in less overcast conditions).

Returning to the main track, I headed roughly west through some scrubby and unappealing forest before striking Basin Gully at approximately 3.9 kilometers into the hike. At this point the track is often indistinct, and is best followed by looking out for round white reflectors nailed to trees and logs. Even so, I found myself pausing at several points before I could find the next reflector. The rest of the track follows Basin Gully, which becomes narrower and deeper as you descend.


At the time that I was hiking, there was plenty of water in the creek and, as the track crosses it many times, it became quite a challenge to stay dry. At some crossings I had to take a running leap to get over the creek, or look for rocks or trees step across. The wet rocks were treacherous, however, and at one point I found myself almost up to my knees in water after slipping in. In coming down the Gully there are occasional glimpses of farmland out to the west.


Only 300 meters short of Ben Halls Camping Ground I found a final wide, deep and fast-flowing creek crossing that I decided not to attempt, and started the hike back the way that I had come. Having descended to an elevation of 330 meters, it is a mildly taxing 400 meter climb over a 4 kilometre distance back to Eualdrie trig, followed by 320 meter decent over a 2.6 kilometre distance to get back to the carpark. Some feral goats were sighted in the gully below Peregrine Lookout.

The NSW National Parks rate the section from Holy Camp to Eualdrie trig as Grade 4 (Bushwalking experience recommended. Tracks may be long, rough and very steep. Directional signage may be limited.), and the section from Euraldrie trig to Ben Hall's Camping Ground as Grade 5 (Very experienced bushwalkers with specialised skills, including navigation and emergency first aid. Tracks are likely to be very rough, very steep and unmarked.). Their suggested time to do both of these sections and return is a very generous 5.5 to 7.5 hours. Although I completed the walk in 3 hours 40 minutes, I was probably quicker than I'd normally be because I was walking alone (which I never recommend!) and was on a tight deadline to get back to Cowra that afternoon. The hike was far more challenging than I had expected. Some sore muscles at the end of the day, but a lot of satisfaction too. In terms of aesthetics, some of the forest traversed is a bit unattractive, but the gullies and high vantage points (Peregrine and Euraldrie) more than compensate. It is well worth the effort if you happen to be in or passing through the area. The track is generally in good condition, even after all the rain, and its indistinctness through Basin Gully is a satisfying challenge.


An interesting postscript: Weddin Mountains National Park was closed due to "inclement and prevailing weather conditions" just two days after I completed this hike. At the time of posting it is not expected to reopen until 17 October 2016.